
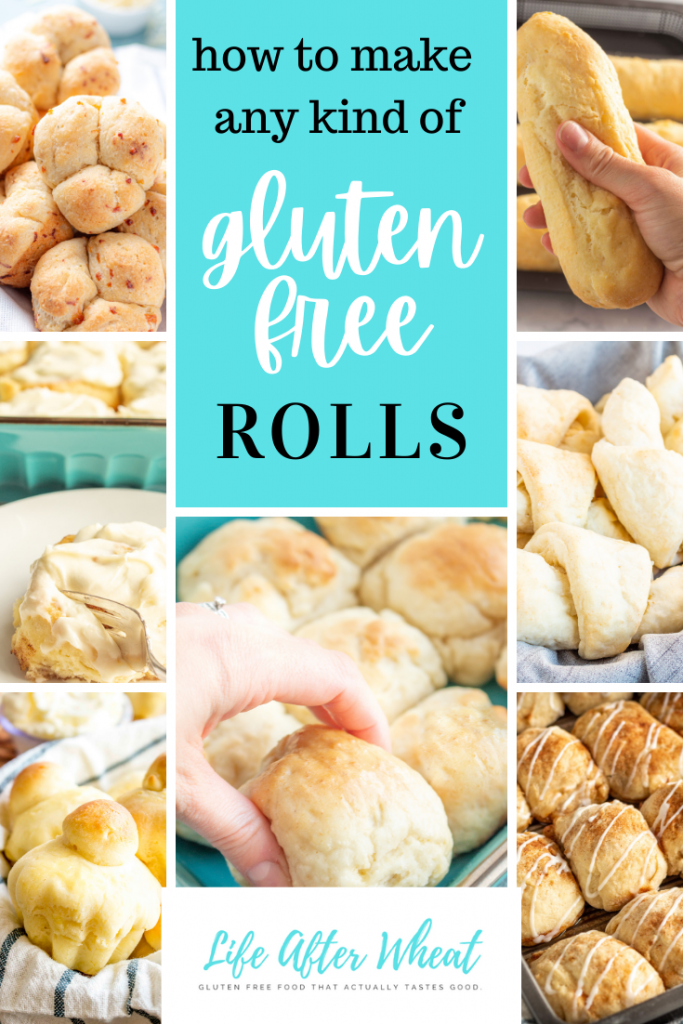
Are you missing soft and fluffy rolls since going gluten free? Store-bought just doesn't compare, but you'll be surprised at how EASY it is to make your own gluten-free rolls at home!
I grew up in a home where everything was homemade. From the bread we ate every day to the Friday night pizza parties, it was alll made from scratch.
I remember spending lots of time in the kitchen with my mom, and when my husband was diagnosed with multiple food allergies 9 years ago, I was so grateful for all that experience!
During this process, I've taken everything I learned from my mom and used research and trial and error to develop recipes that my husband (and the rest of our family) could enjoy just as much as what he used to love.
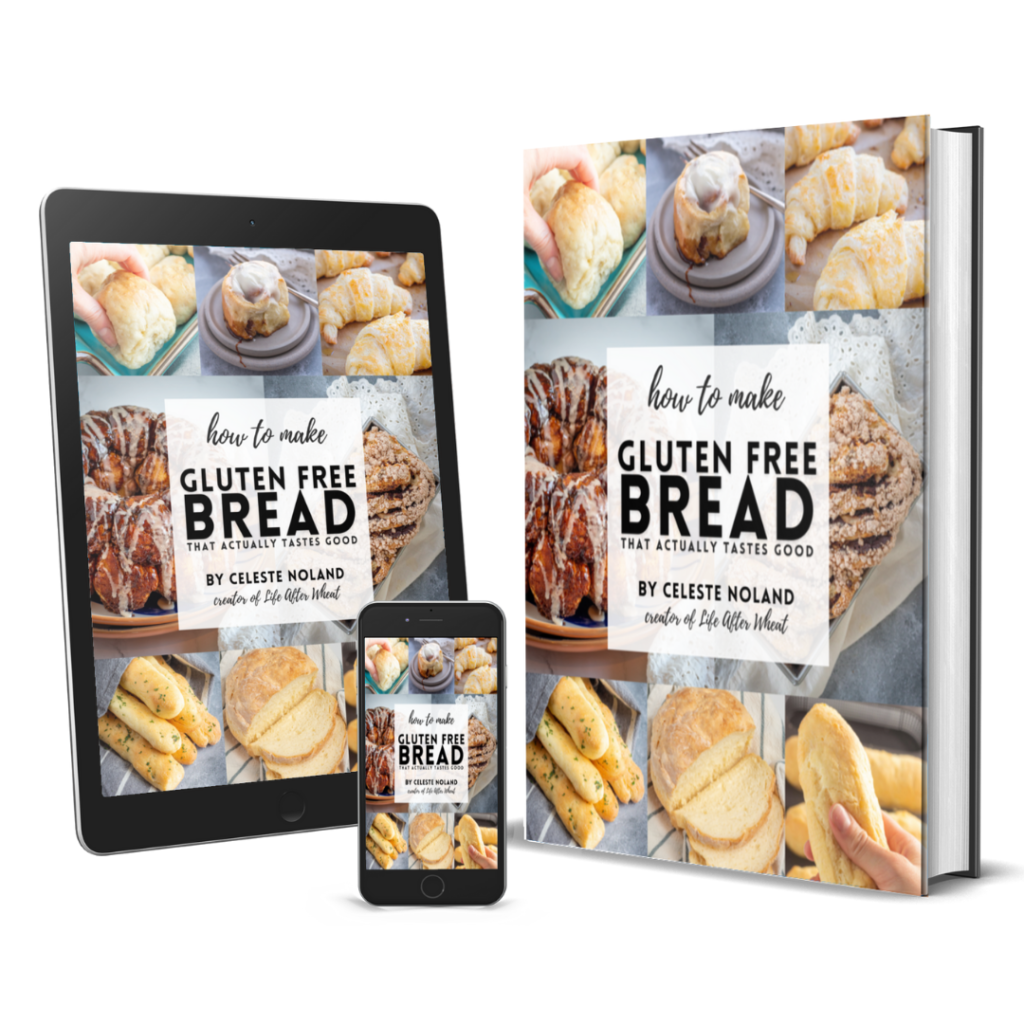
Want to learn how to make gluten-free breads and rolls that actually taste good?? My cookbook is available on Amazon or you can download the digital version today.
HOW ARE GLUTEN FREE ROLLS DIFFERENT THAN REGULAR ROLLS?
I used to make wheat rolls all the time, so when I set about to make a gluten free version, I thought I had it handled. Nope. They turned out like literal hockey pucks and ended up in the trash...which was a waste of a LOT of money! (Why is gluten free so expensive?)
Obviously, I've learned a lot along the way so I'll share the basics with you here. Of course, in each of my recipes I give you step by step instructions and photos, too.
- Gluten Free Rolls need extra moisture. Gluten free flours are more dense and soak up more moisture than wheat flour, so you'll either need to increase the liquid in your recipe or reduce the flour to make a dough that is like thick banana bread batter.
- The dough should be too sticky to handle with your bare hands. but don't worry! Each of my recipes lays out a method for shaping your rolls so you can still have all the fun shapes.
- Gluten Free Rolls only require one rise. This is one silver lining of gluten free baking, it takes so much less time! You'll mix all the ingredients in a stand mixer (you can use a hand mixer if that's all you have), shape, rise once, and bake. SO easy.
HOW TO MAKE GLUTEN FREE ROLLS
Use the Right Flour
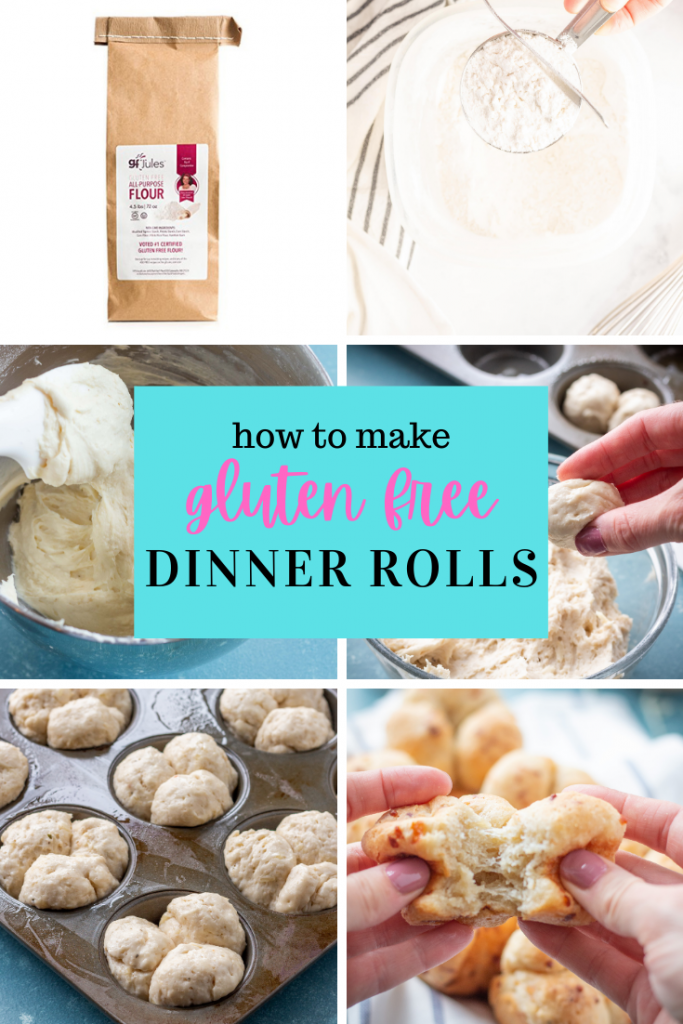
I have experimented with a LOT of gluten free flours, and give recommendations in each recipe I post. That being said, I have found that gfJules provides the best rise and fluffiest texture every time, so I highly recommend it.
It might not be the cheapest flour, but for me it is definitely worth paying a little extra to really enjoy what I make.
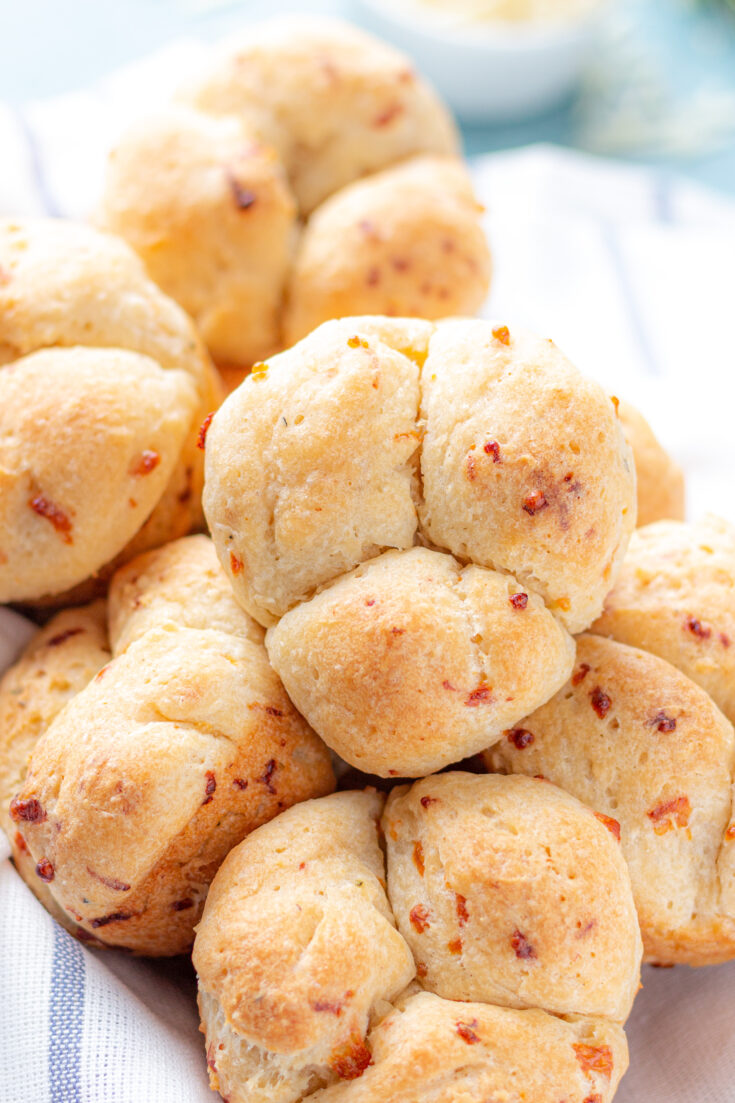
If you're looking for a less expensive and more wholesome option, Namaste (Costco often sells it for a good price) works pretty well with rolls, I recommend this one for my Cloverleaf rolls because it gives them a hearty taste.

NEW TO GLUTEN FREE?
Are you just starting a gluten-free lifestyle? Living gluten free can be HARD, let me show you the ropes so you can live the happy, healthy life you want.
Stir, Spoon, and Level
When you're baking gluten free, too much flour can yield dense and gritty results. Always stir the gluten free flour, scoop it into your measuring cup with a spoon, and level with the flat edge of a butter knife.
This ensure that you don't end up with too much flour.
Make the Dough Sticky
Your yeast doughs should resemble thick banana bread batter. Definitely too thick to handle with your bare hands.
If you're converting a regular wheat recipe, you can achieve this by either increasing the liquid called for in the recipe by 30-40%, or by reducing the amount of flour called for in the recipe by about the same.
Keep in mind that different flours absorb different amounts of moisture, so you might need to play with those ratios a bit to achieve the right result.
Tips for Shaping Gluten Free Rolls
Because gluten free roll dough will be too sticky to handle, you can coat your hands with oil, butter, or even water in order to shape the dough to your liking.
If you'll be rolling out the dough as you would with cinnamon rolls or crescent rolls, you can lightly coat the dough with cornstarch or gluten free flour to make the outside workable. Be careful not to work the the flour or starch into the dough.
Ditch the Second Rise
You only need to let gluten free yeast breads/rolls rise once. Punching down the dough and letting it rise a second time will likely lead to a smaller and more dense final product.
WAIT! Don't lose this post! Save this image on Pinterest
MAKING THIS RECIPE???
We would love to see what you create! Snap a photo and tag @LifeAfterWheat on social media!
FAQ'S
Why do most of your recipes call for powdered milk?
Can I make your gluten free rolls dairy free?
What is the best flour to use in gluten free rolls?
Can I make your gluten free rolls egg free?
What type of yeast should I use?
Help, my gluten free rolls didn't rise!
1. Make sure you're using fresh yeast. You can store yeast for up to 4 months in the fridge, or longer in the freezer.
To check if your yeast is fresh, add 2 ¼ teaspoon to ¼ cup of water and wait 10 minutes. If the yeast bubbles and smells...yeasty...then it's still good.
Store your yeast in an airtight container in your fridge and let it get to room temp before adding to your recipe.
2. Proof in a warm area. I use the rapid proof setting on my oven, which I love! If you don't have this, you can turn your oven on until it reaches 100 degrees F, then turn it off.
3. Use enough liquid. Gluten free yeast dough should be too sticky to shape with your hands, similar to a thick banana bread batter. If it is too thick, it won't rise properly.
4. Check your flour. Make sure you're using a flour that is recommended in the recipe. Gluten free flours are very different!
My rolls rose beautifully, then sunk! What happened?
The rolls look beautiful, but are doughy in the middle
LET'S MAKE SOME ROLLS!

These gluten free rolls are perfectly soft, fluffy and so easy to make! Ready in just one hour, they are the perfect addition to any meal and will be enjoyed by everyone, gluten-eaters included! Dairy free option included.
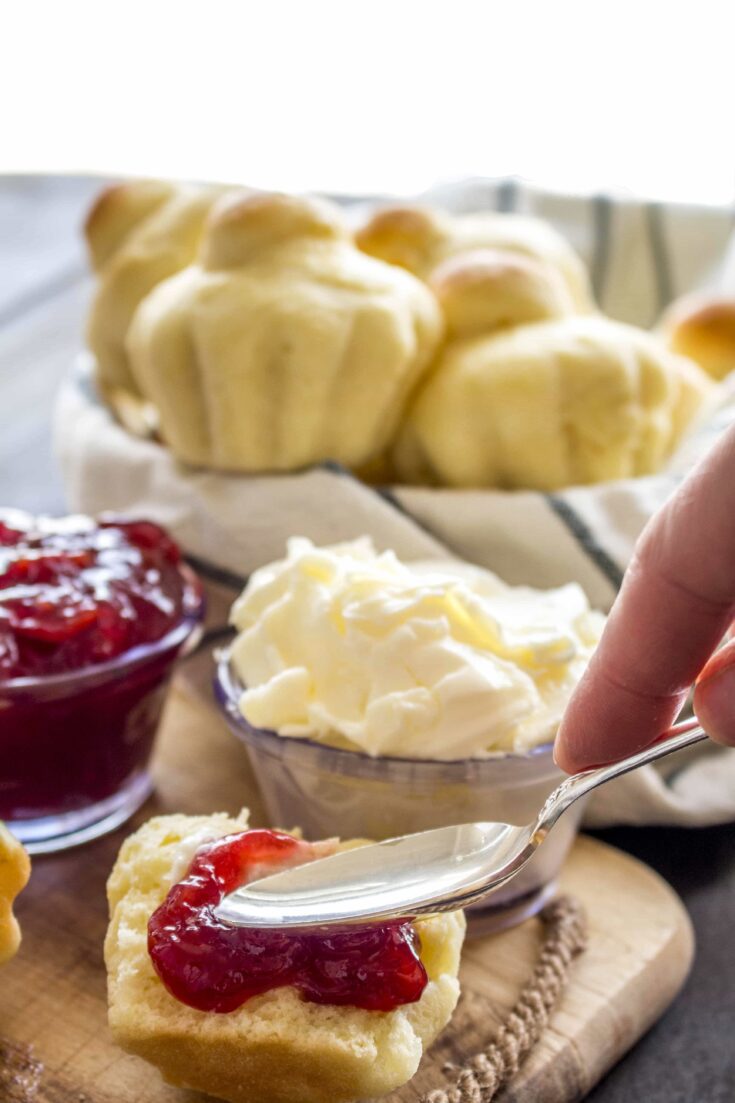
These gluten free rolls are perfectly soft, fluffy and so easy to make! Ready in just one hour, they are the perfect addition to any meal and will be enjoyed by everyone, gluten-eaters included!
Dairy free option included.
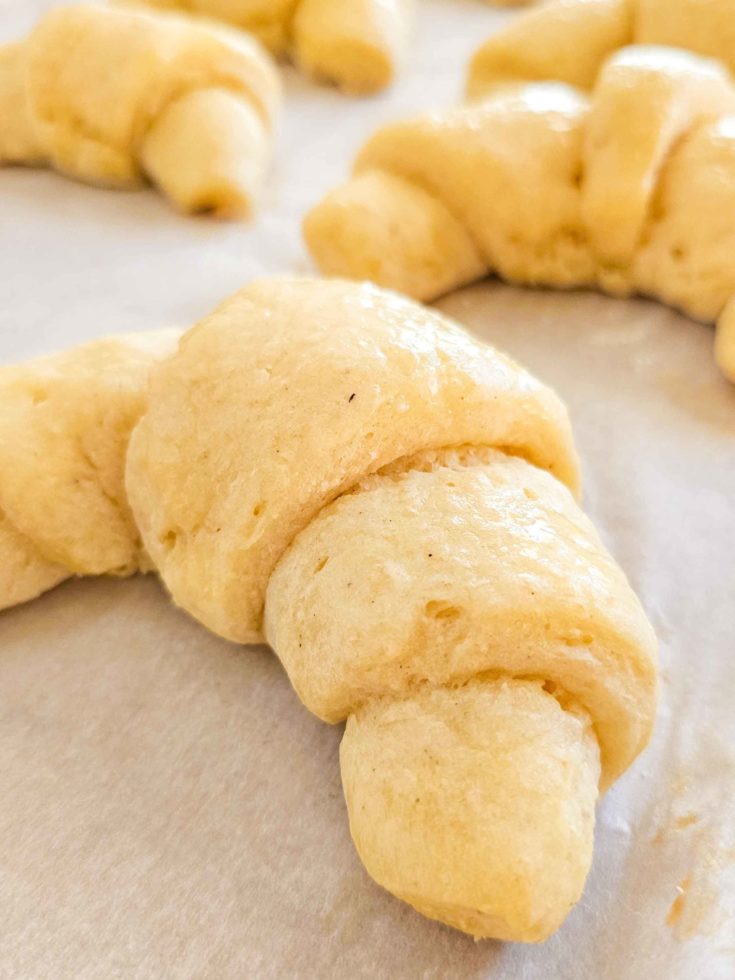
The BEST No-Fail Gluten Free Crescent Rolls – easy to make and ready in 1 hour! Soft, light, fluffy, these rolls are the perfect addition to any meal and come with a dairy free option.
These rolls are so easy to make, and they’re done in an hour or less! If you’ve been feeling hesitant to try making gluten free rolls at home, then this recipe is for you. I’ve included step-by-step instructions and photos, detailed instructions, and flour recommendations so your rolls will turn out perfect every time.
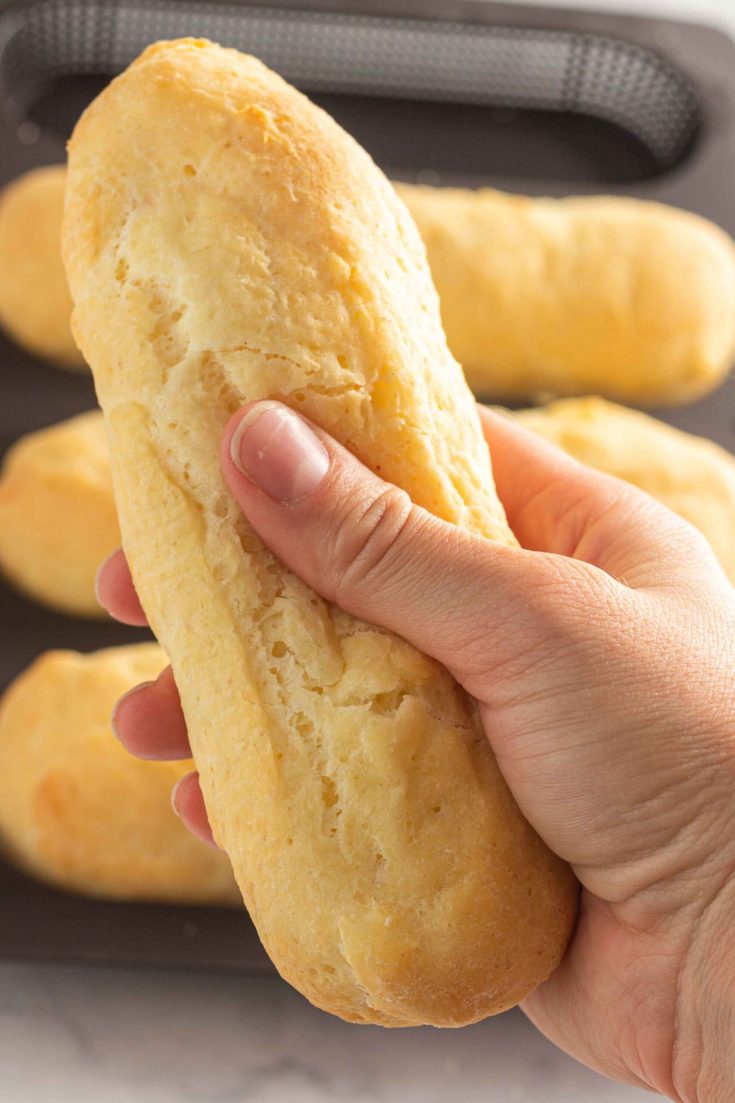
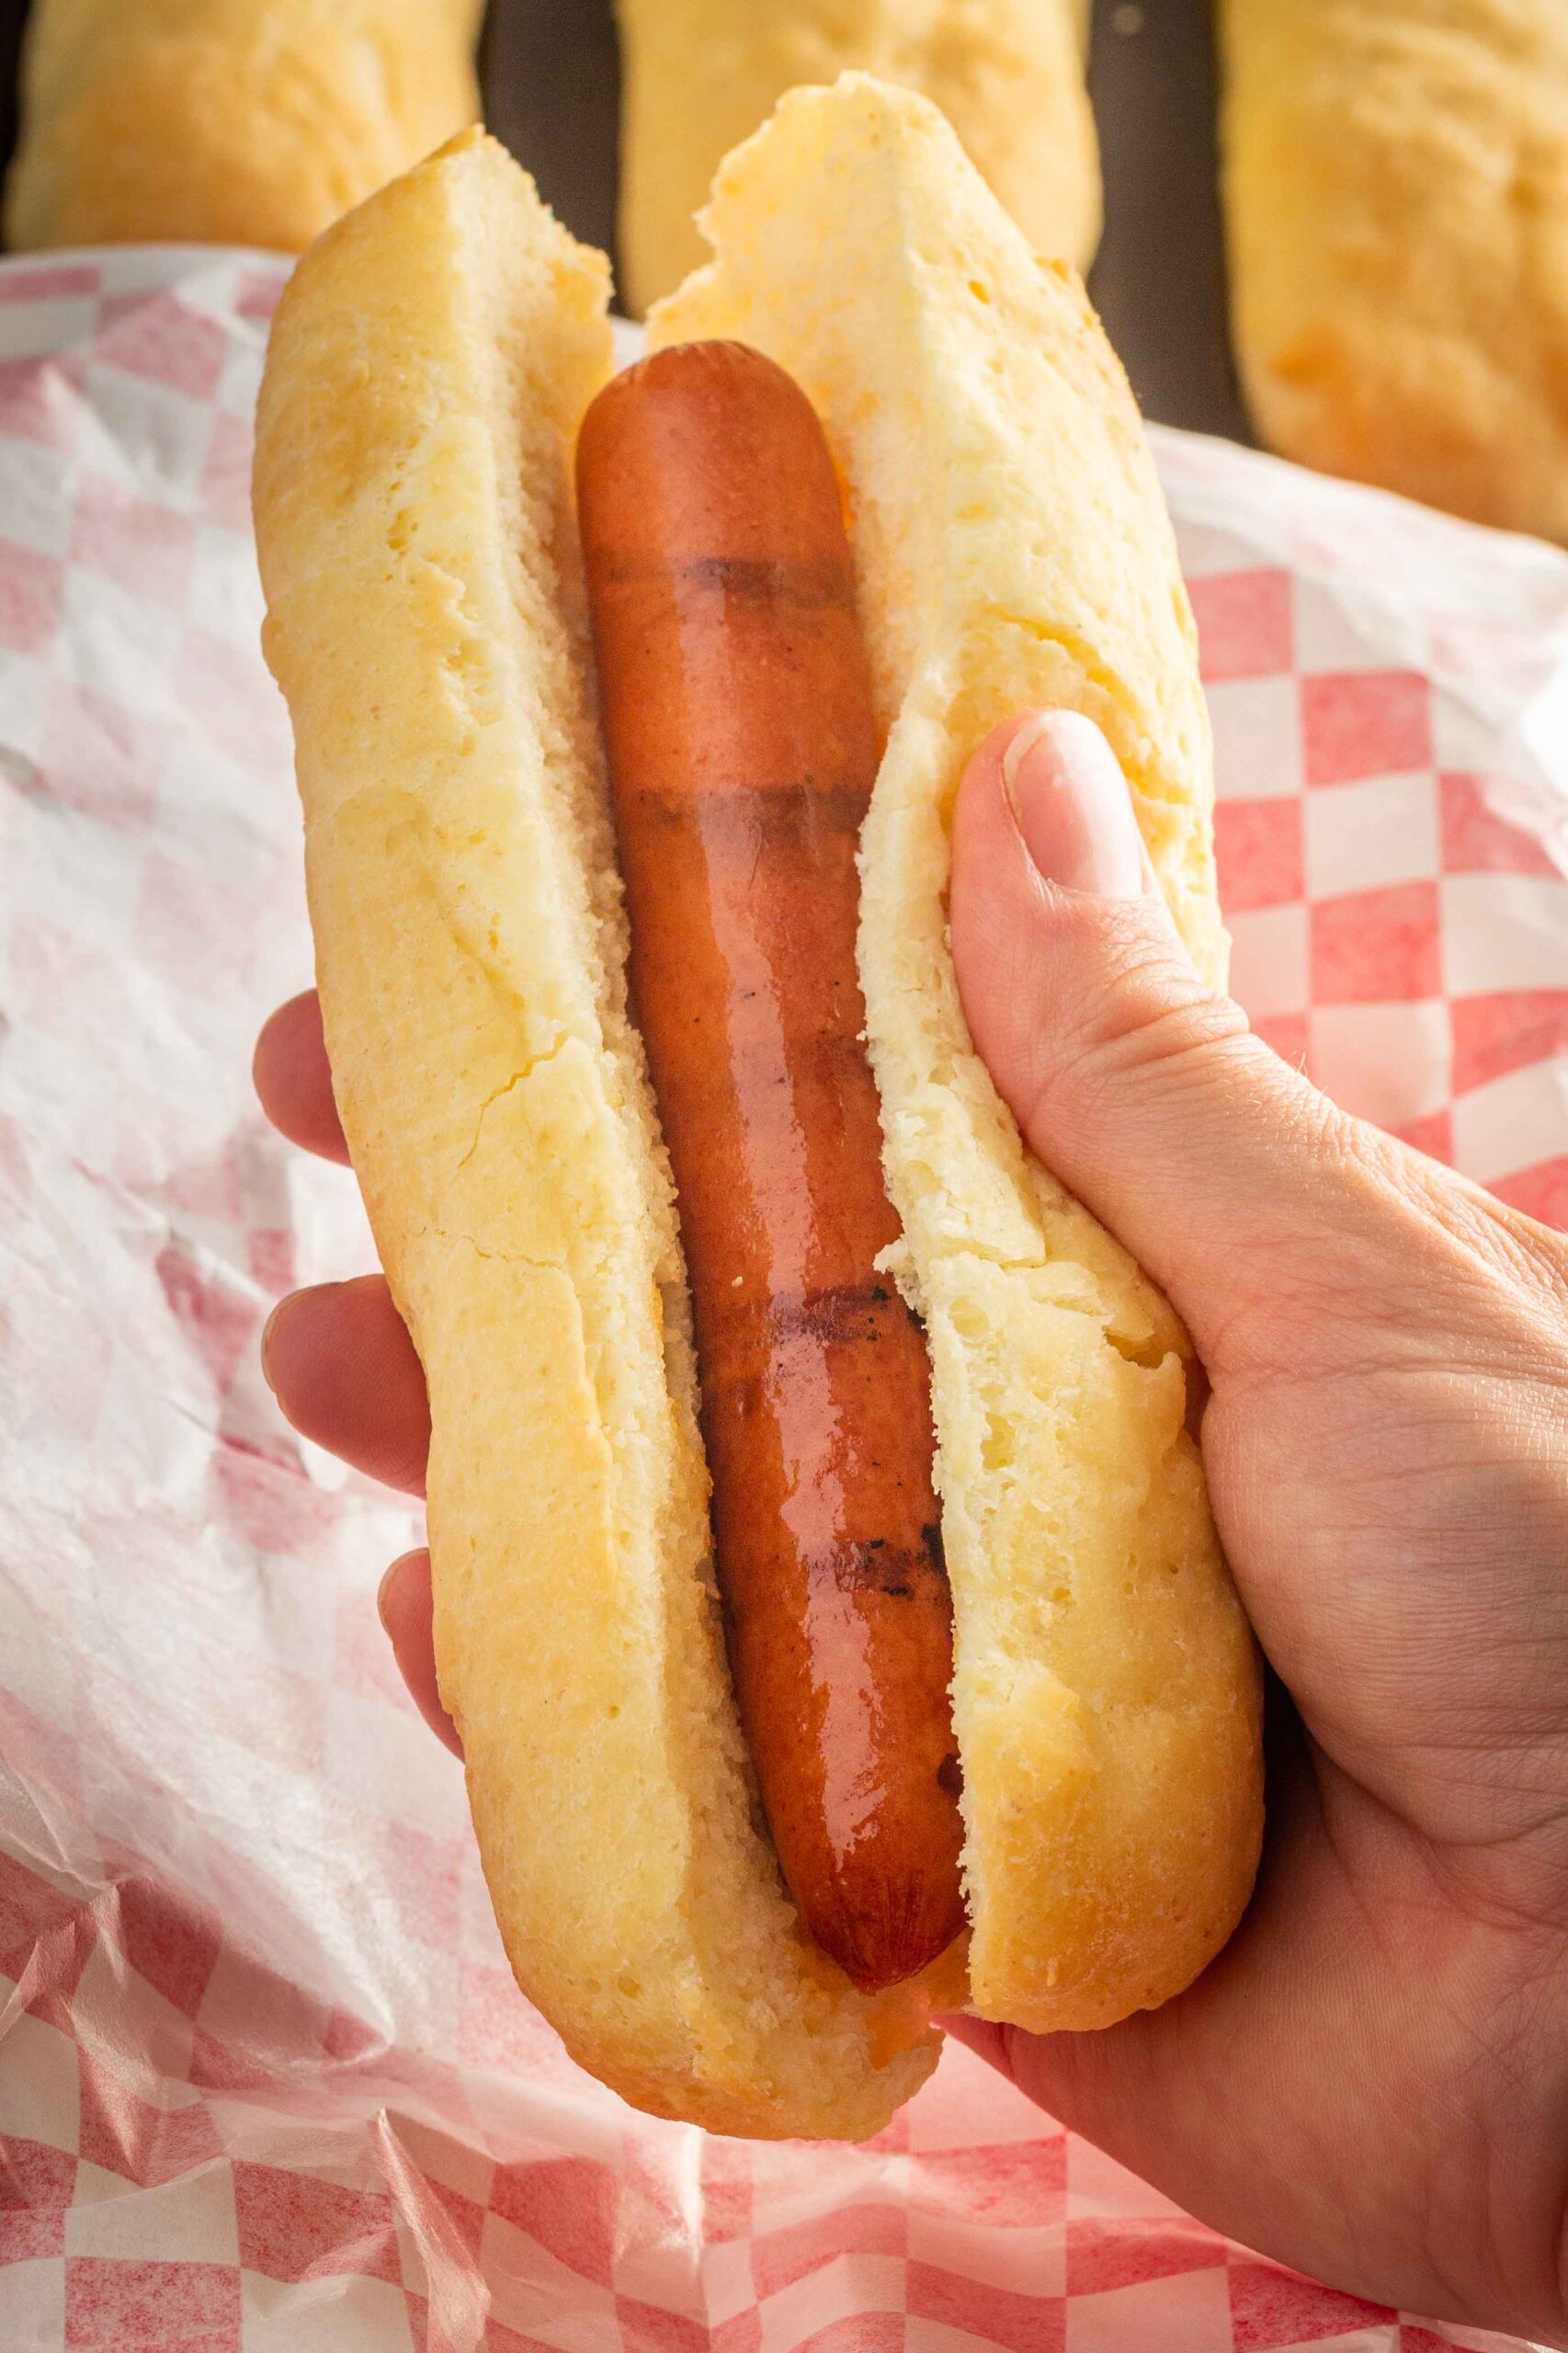
Tired of your hot dog bun falling apart?? You're going to LOVE these soft and easy-to-make gluten free hot dog buns that hold together!
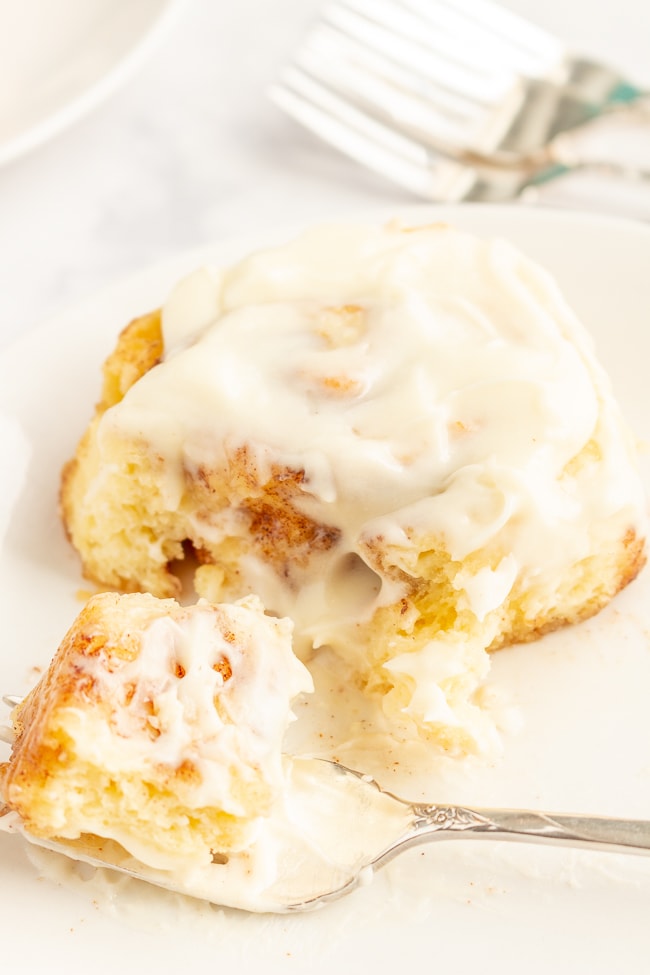
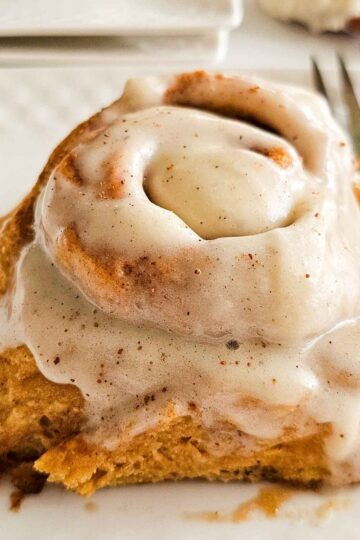
These soft and fluffy gluten free cinnamon rolls are the real deal thanks to a secret ingredient! Complete with flour recommendations and easy step by step instructions.
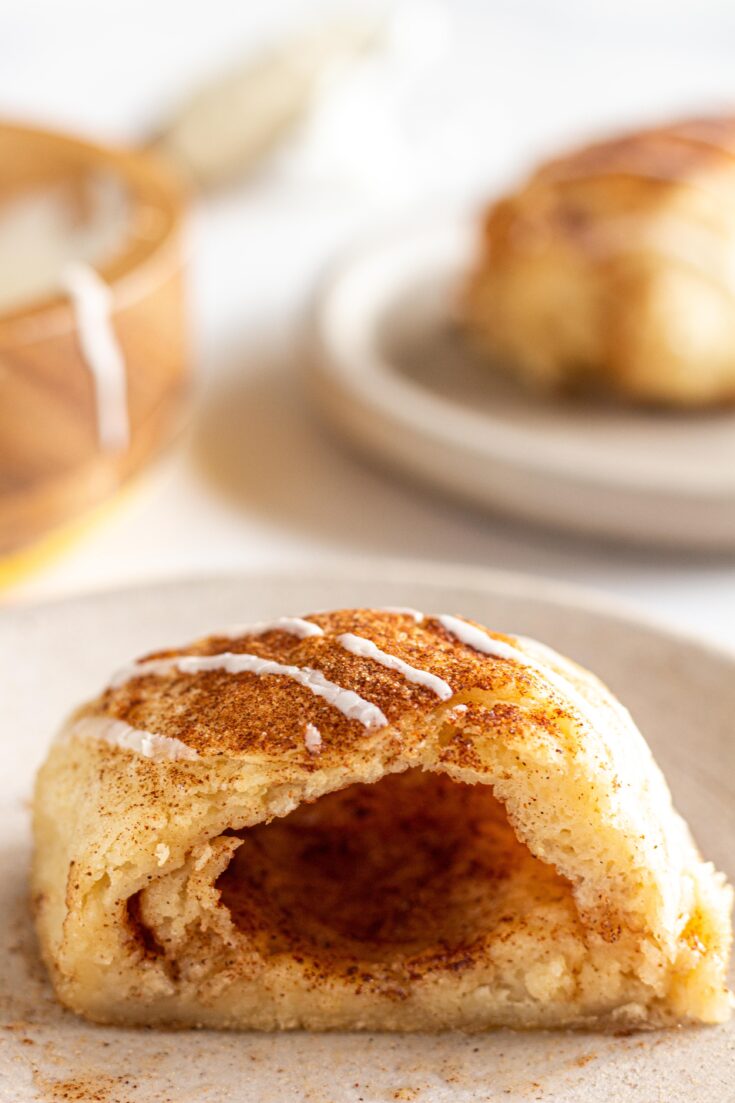
These Gluten Free Resurrection Rolls bake up soft and fluffy, with a hollow space inside signifying the empty tomb of Jesus Christ after His resurrection. Make them for Easter or any other time! They are a sweet roll similar to gluten free cinnamon rolls.
Dustin says
Just made these tonight. Awesome!!!! My non-GF kids all loved them as much as I did. Thanks for sharing this fabulous and easy recipe.
thereislifeafterwheat@gmail.com says
Yay! That's how you know it's a win!