
NEW step-by-step video! I'm inviting you into my kitchen to see how EASY it is to make these fluffy gluten free rolls, just scroll down and find the video just above the recipe card.
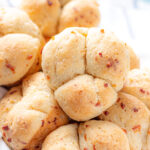
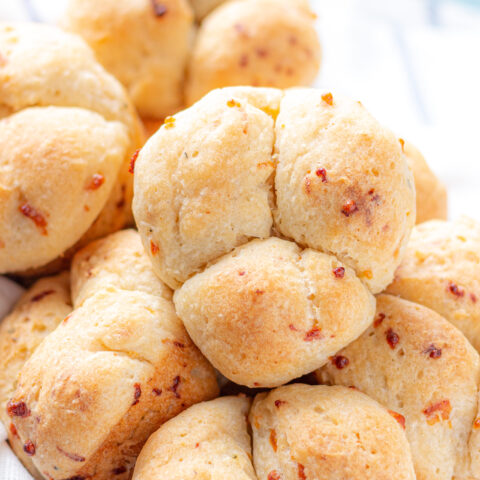
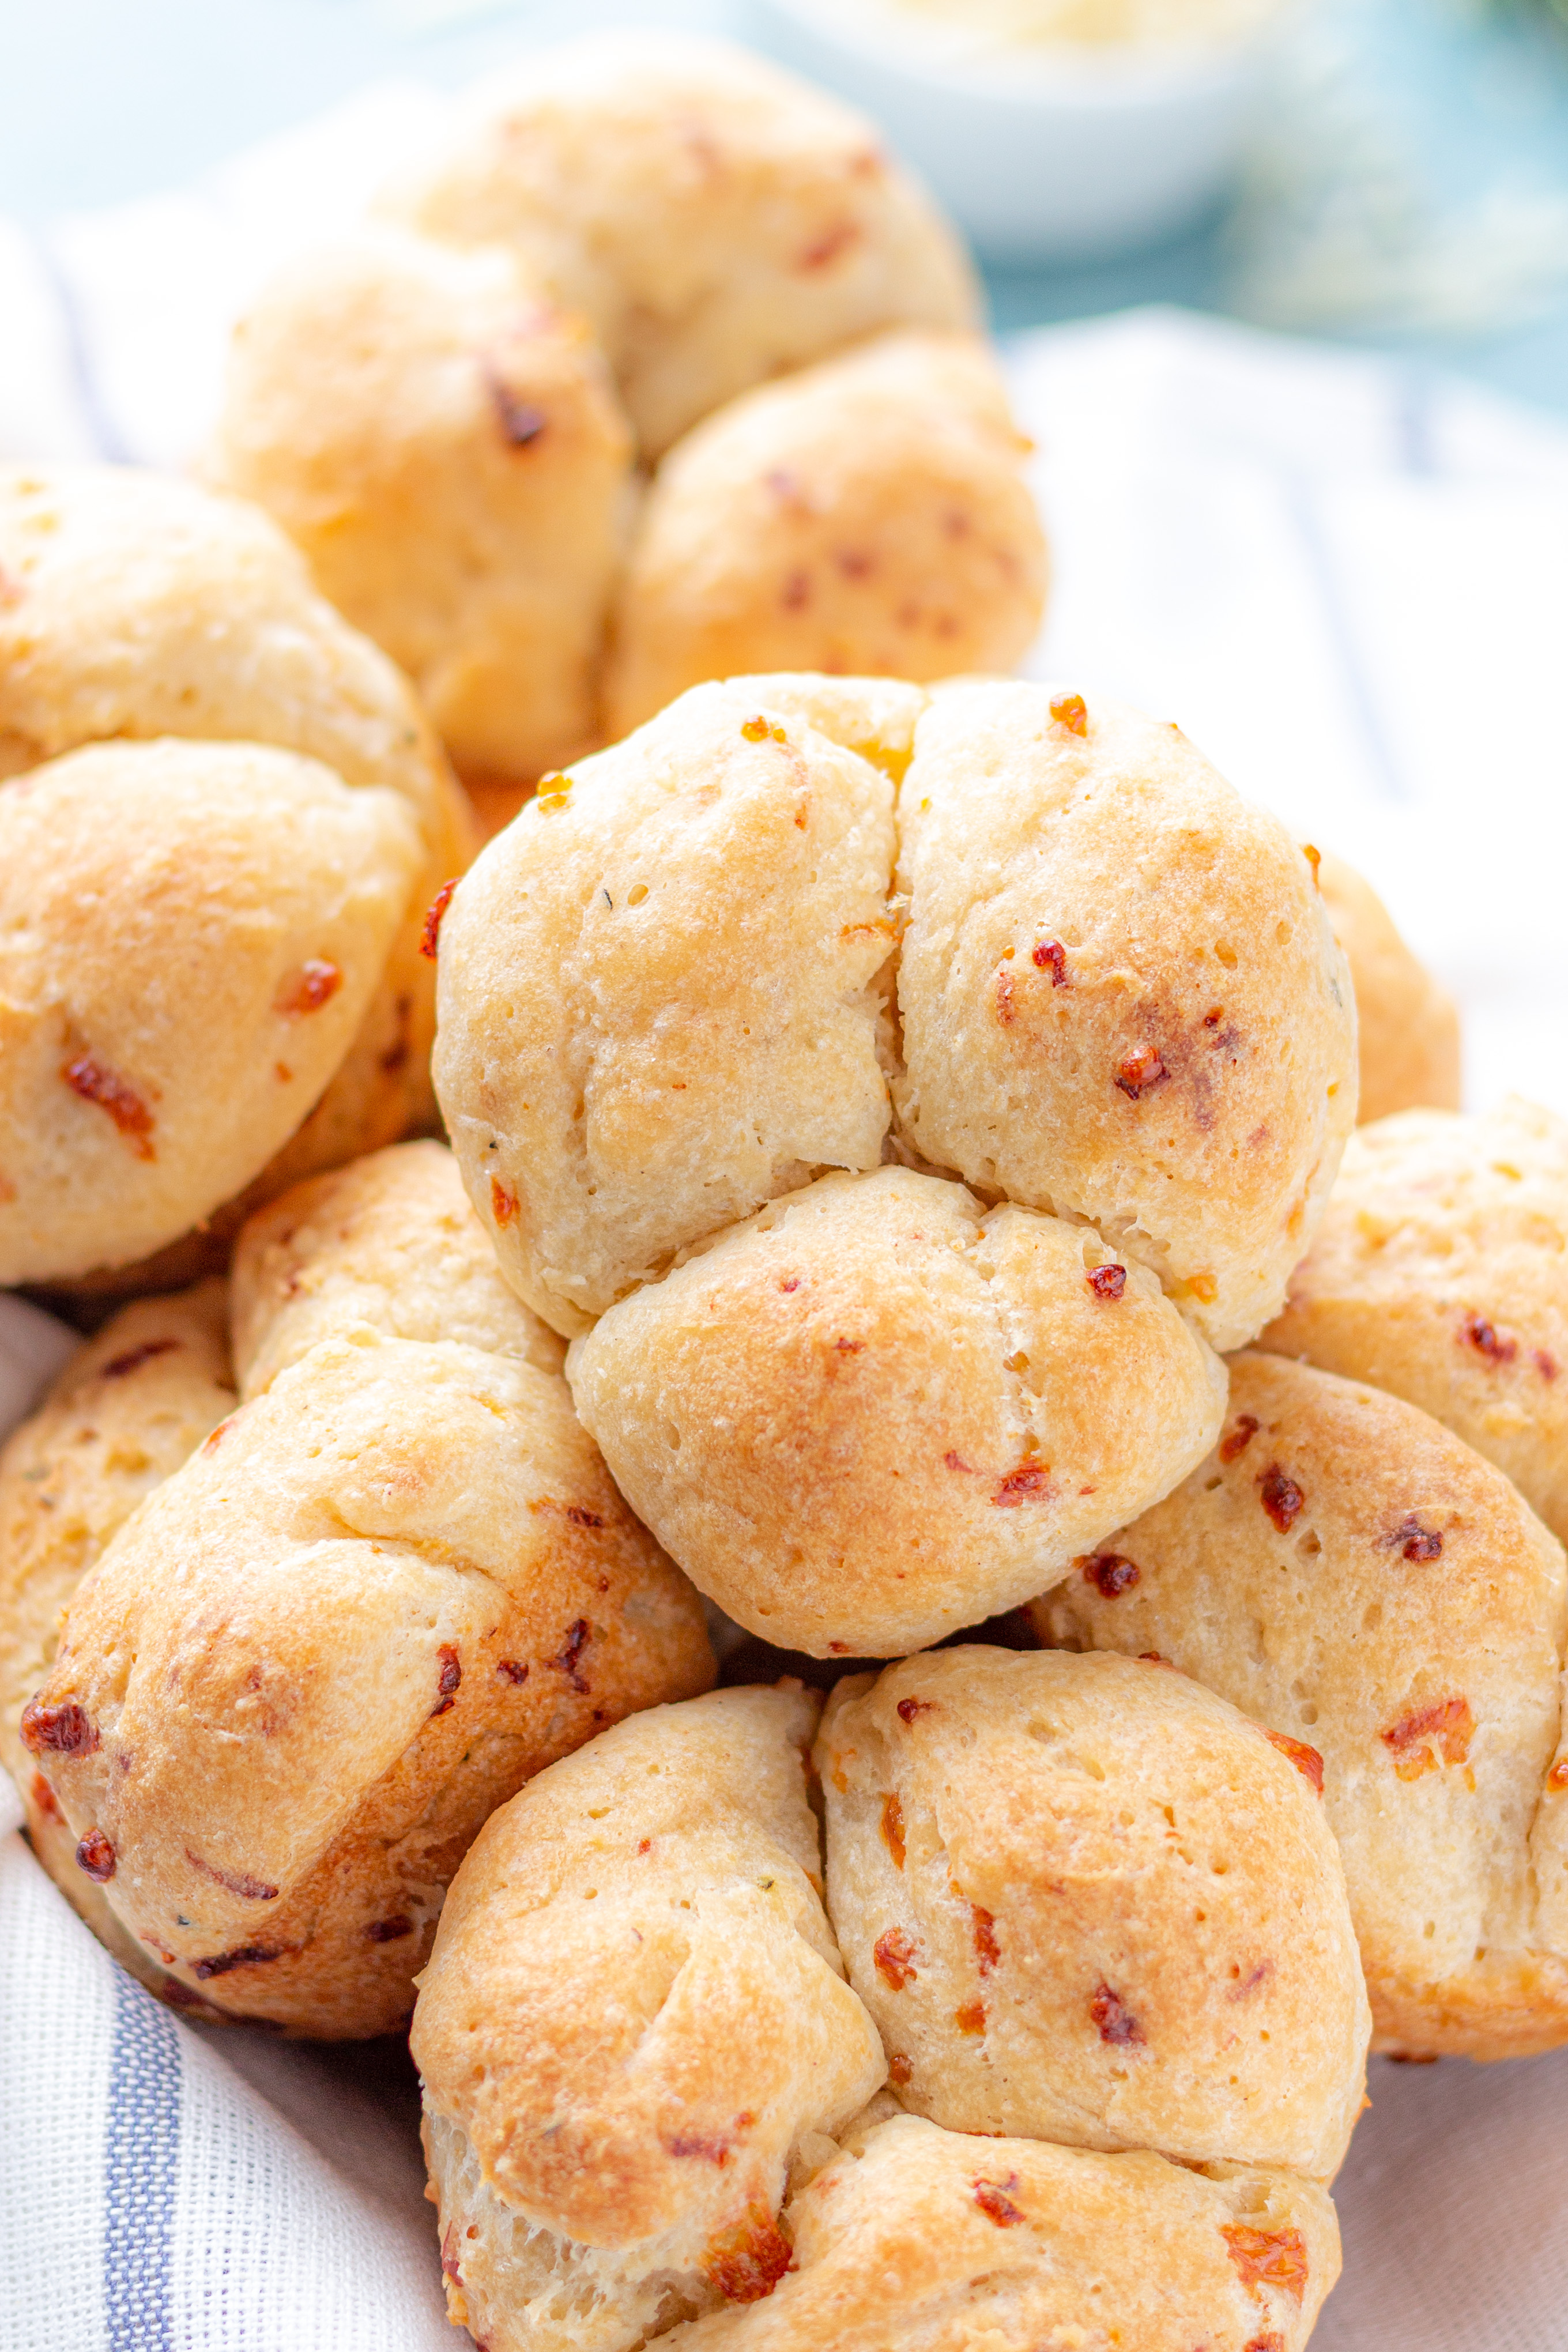
Nothing completes a meal like a batch of homemade rolls, and these gluten free cloverleaf rolls have quickly become a favorite recipes at our house!
These rolls are so easy to make, and they're done in an hour or less! If you've been feeling hesitant to try making gluten free rolls at home, then this recipe is for you. I've included step-by-step instructions and photos, detailed instructions, and flour recommendations so your rolls will turn out perfect every time.
Serve gluten free cloverleaf rolls with soup, salad, pasta, or any other meal. They are great for sliders, too!
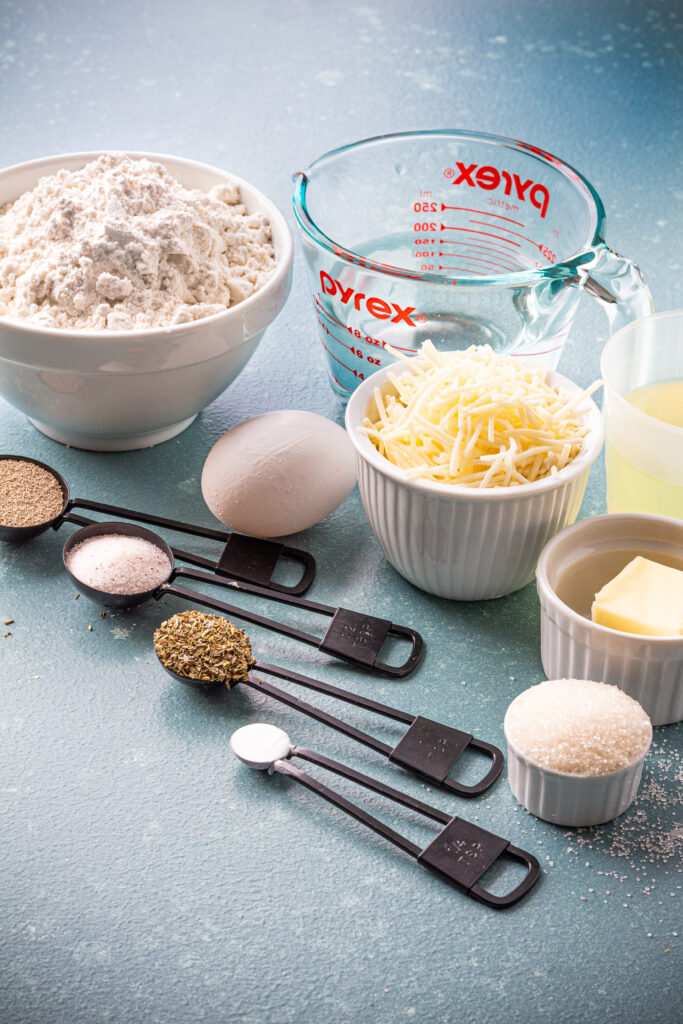
WHAT INGREDIENTS DO I NEED TO MAKE GLUTEN FREE ROLLS?
This recipe is pretty simple, and is based off my gluten free crescent rolls recipe. Here's what you'll need:
- high quality gluten free flour (see below)
- gluten free yeast I like to use Instant yeast as the rolls will rise faster. Feel free to use regular yeast if that's what you have on hand.
- sugar
- baking powder this gives the gluten free dough an extra lift - no dense rolls here!
- salt
- water
- egg
- oil feel free to use any kind of oil you have on hand. I prefer using a neutral oil such as avocado or vegetable.
- mix-ins adding some Italian seasoning and parmesan cheese gives these rolls such a yummy taste! I always use Feast Mode Italian Fusion because I love the flavor! You can order it from Amazon, or use a regular Italian seasoning if you prefer.
- Butter + garlic salt

HOW TO MAKE GLUTEN FREE ROLLS
You'll love how easy it is to make gluten free cloverleaf rolls! Here are the steps:
- Add all ingredients except butter and garlic salt to bowl of a stand mixer in the order listed. When you're adding the flour, be sure to stir it first, then scoop into a measuring cup and level off with the flat side of a knife. This method is important, because it ensures you aren't getting too much flour in the dough. Too much flour = dense and gritty rolls and we don't want that!
- If you don't have a stand mixer, I recommend getting one! It is by far one of the best purchases I've ever made. Feel free to use a hand mixer or mix by hand if you have to, though.
- Mix on medium speed for a minute or two until the dough is smooth and well mixed. It should be pretty wet and sticky, too sticky to handle with your bare hands
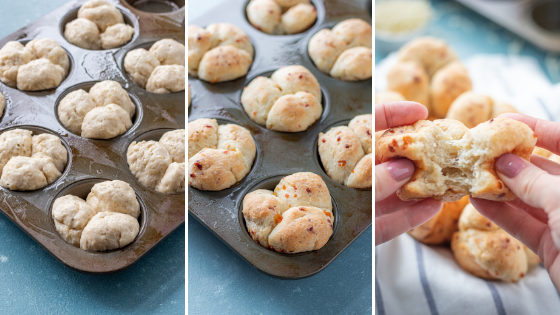
- Annnnnd that's where the butter and garlic salt come in! Melt the butter, stir in garlic salt to taste, and get your hands dirty. You'll want to dip your fingertips in and rub it onto your hands so you can pinch a tablespoon-sized piece of dough and roll it into a ball. Set three of these balls side-by-side (they should be snug and touching) inside each well of your muffin tin.
- Continue with remaining dough, you should have 9 rolls total.
- Cover loosely with plastic wrap or a light tea towel, and allow to rise in a warm place for about 20 minutes. I like to heat my oven to 100 degrees F, turn it off, and let my rolls rise inside.
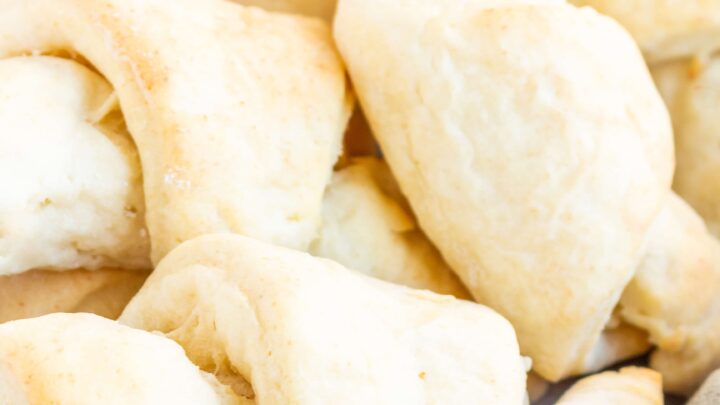
- Once the rolls are almost double in size and nice and fluffy, preheat the oven (remove the rolls first if they are inside), and bake for 15 minutes. They should be a light golden brown and not doughy in the middle.
- Enjoy! These rolls are best when allowed to cool about 30 minutes, and they will stay fresh for several hours if you need to make ahead.
WHAT FLOUR IS BEST FOR GLUTEN FREE ROLLS?
I have a few favorite gluten free flour blends that tend to work well for rolls and yeast breads: Better Batter, GF Jules, and Namaste.
I have found that for this particular recipe, Namaste yields the best texture, and you can buy it for a great price at Costco.
Other Recipes You Might Like
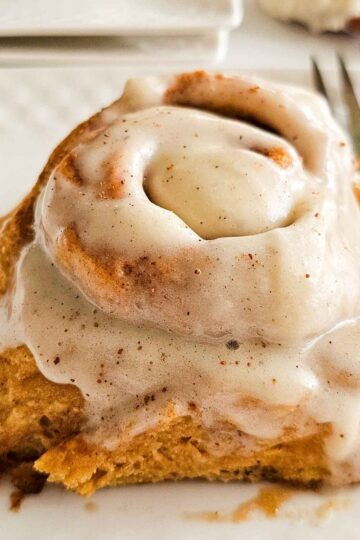
Gluten Free Crescent Rolls (dairy free option)
The BEST No-Fail Gluten Free Crescent Rolls – easy to make and ready in 1 hour! Soft, light, fluffy, these rolls are the perfect addition to any meal and come with a dairy free option
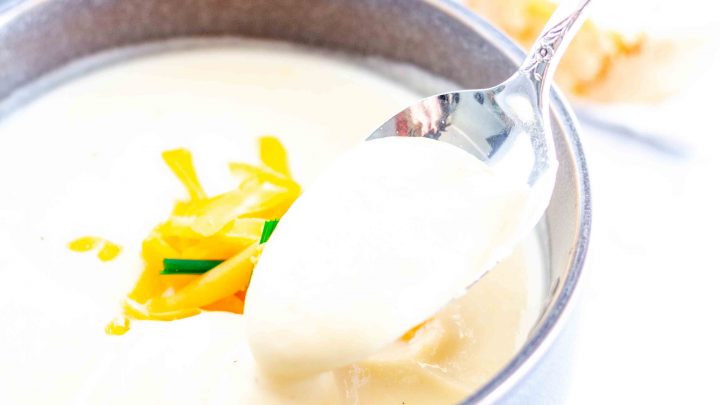
Instant Pot Cauliflower Soup
This Instant Pot Cauliflower Soup is QUICK, EASY, and hands-off thanks to the Instant Pot. Make it in under 30 minutes! Naturally gluten free – no flour required!

Easy Gluten Free Biscuits (dairy free option)
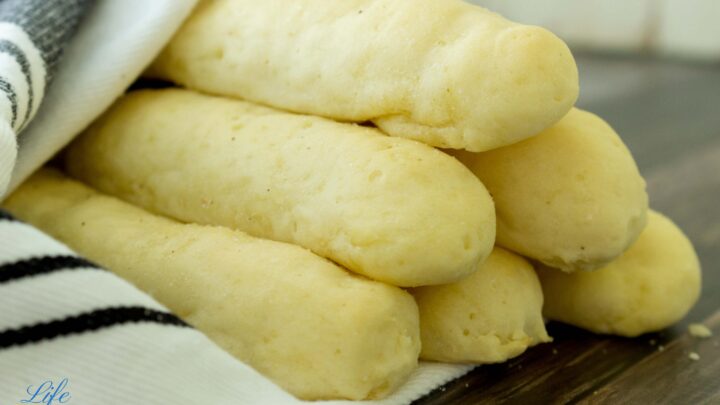
Gluten Free Soft Garlic Breadsticks
Soft and fluffy gluten free breadsticks brushed with olive oil and natural garlic salt, these are the perfect addition to any meal! From start to finish, you’ll have them on the table in less than an hour!
FREQUENTLY ASKED QUESTIONS
Can I double this recipe?
Is there a way to make this recipe dairy free?
Will an egg substitute work?
I don't have any of the flours you mention, can I just use the one I have in my pantry?
Can I freeze these gluten free rolls for later?
MAKING THIS RECIPE???
We would love to see what you create! Snap a photo and tag @LifeAfterWheat on social media!
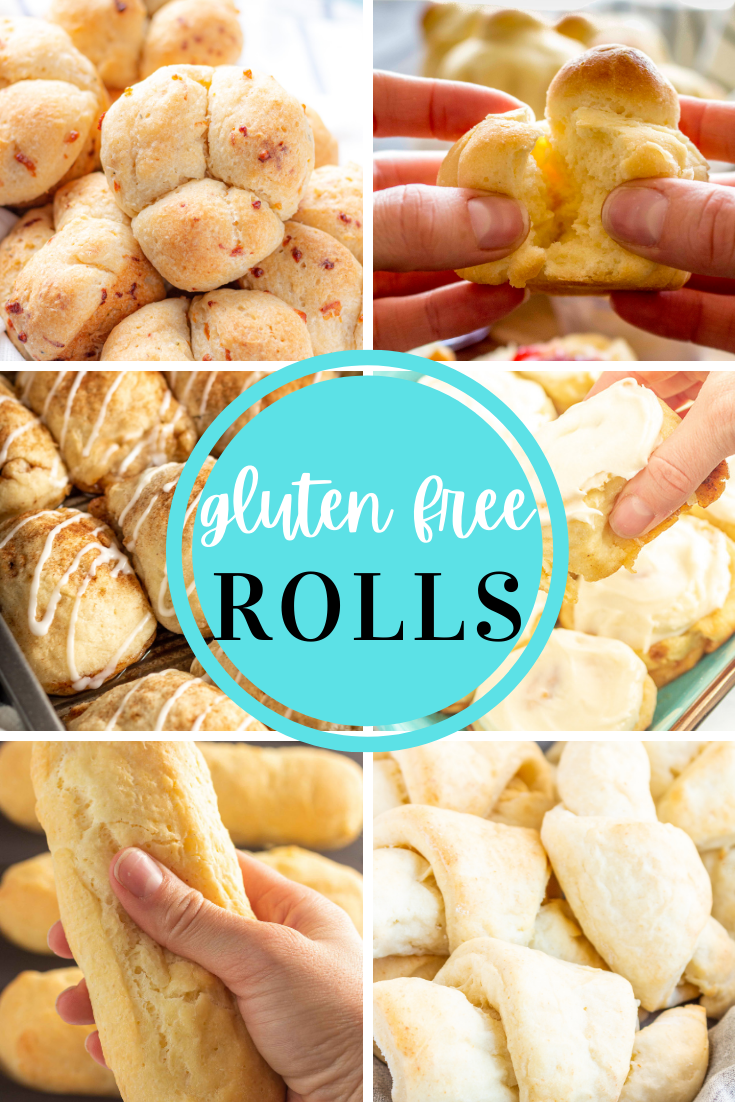
WAIT! Don't lose this recipe - Pin for later!

A lot of people are nervous to try making gluten free rolls or bread, so I decided to invite you into my kitchen (via video;)) and show you just how easy it is! You can watch the video below:
Gluten Free Cloverleaf Rolls
https://thereislifeafterwheat.comIngredients
- 2 cups high quality gluten free flour see notes
- 1 Tablespoon gluten free yeast I use Instant
- 2 Tablespoon sugar
- ¼ teaspoon baking powder
- ¾ teaspoon salt
- 1 large egg - room temp
- ½ cup + 2 Tablespoons warm water see notes
- ½ cup oil see notes
- 1 teaspoon Italian seasoning I love Feast Mode Italian Fusion
- ⅓ cup freshly grated parmesan cheese I buy it pre-grated in a package
- 1 Tablespoon unsalted butter
- ⅛ teaspoon or more to taste garlic salt
Equipment
Method
- Grease 9 wells of a muffin tin with cooking spray or oil. Set aside.
- In bowl of stand mixer, add flour, yeast, sugar, baking powder, salt, egg, water, and oil.
- Mix on medium speed about 1 minute, until dough is smooth. It should be too sticky to handle with your hands.
- Add Italian seasoning and parmesan cheese, and mix until combined.
- In a small bowl, melt 1 Tablespoon of butter. Stir in garlic salt.
- Rub a small amount of the garlic butter onto your hands, pinch off about a 1 Tablespoon size ball and roll it into a ball between your hands.
- Place 3 of these balls side-by-side in each well of the muffin tin. They should be pretty cozy and fill a large portion of the well.
- Cover the rolls loosely with plastic wrap and allow to rise in a warm place. I heat the oven to 100 degrees F, then turn it off and put the rolls inside to rise. It should take about 20 minutes and the rolls will be fluffy and almost doubled.
- Preheat oven to 350 (remove rolls first if they were rising inside).
- Remove plastic wrap and bake about 15 minutes, until rolls are a light golden brown and done inside.
- Allow to cool for 30 minutes before serving.
Notes
- I have found that for this particular recipe, Namaste yields the best texture, and you can buy it for a great price at Costco. I would also recommend Better Batter or GF Jules
- When you're adding the flour, be sure to stir it first, then scoop into a measuring cup and level off with the flat side of a knife. This method is important, because it ensures you aren't getting too much flour in the dough. Too much flour = dense and gritty rolls and we don't want that!
- This recipe is perfect for a smaller group but we often double it for our family of 6
- To make this recipe dairy free, omit parmesan cheese (or use a DF sub), use Italian seasoning, and sub oil or DF butter alternative in the garlic butter.
- To freeze: make and bake the rolls as directed, allow to cool completely on a cooling rack (outside of the pan), then freeze in freezer bags for up to 2 months. Warm in the microwave or wrapped in foil in a 300 degree oven when ready to enjoy.
- Please be sure all your ingredients are gluten free. Some types of yeast and seasonings contain gluten or are cross-contaminated.
Lisa says
Is there a specific amount of Parmesan to add? I don’t see a quantity in the recipe. Thanks!
thereislifeafterwheat@gmail.com says
Yes, 1/3 cup. I had left it out of the recipe card, thanks for catching that!