

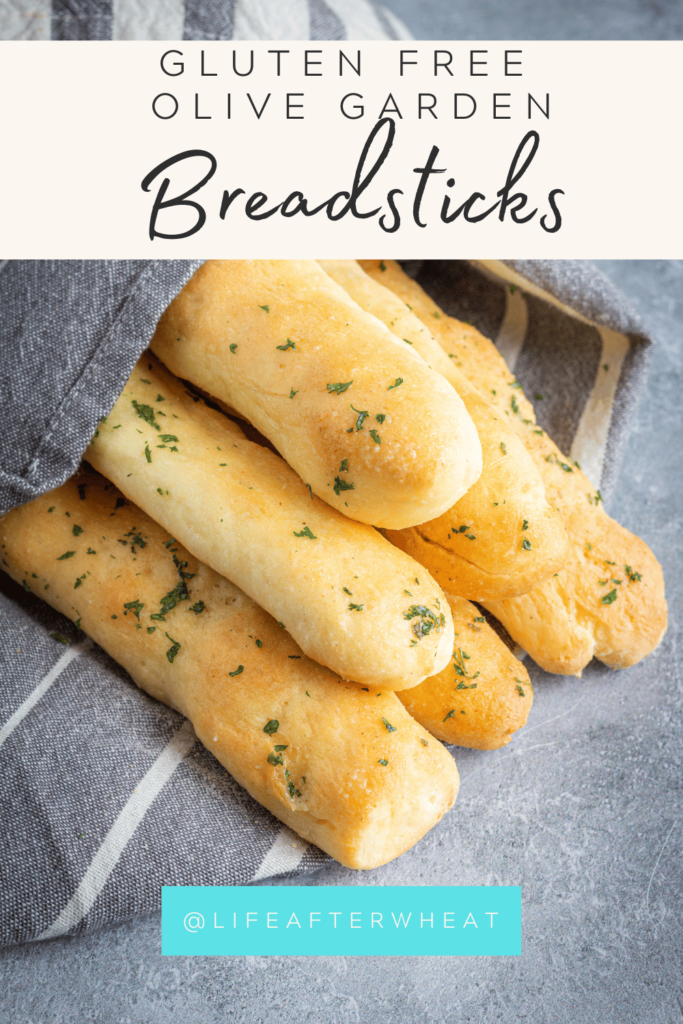
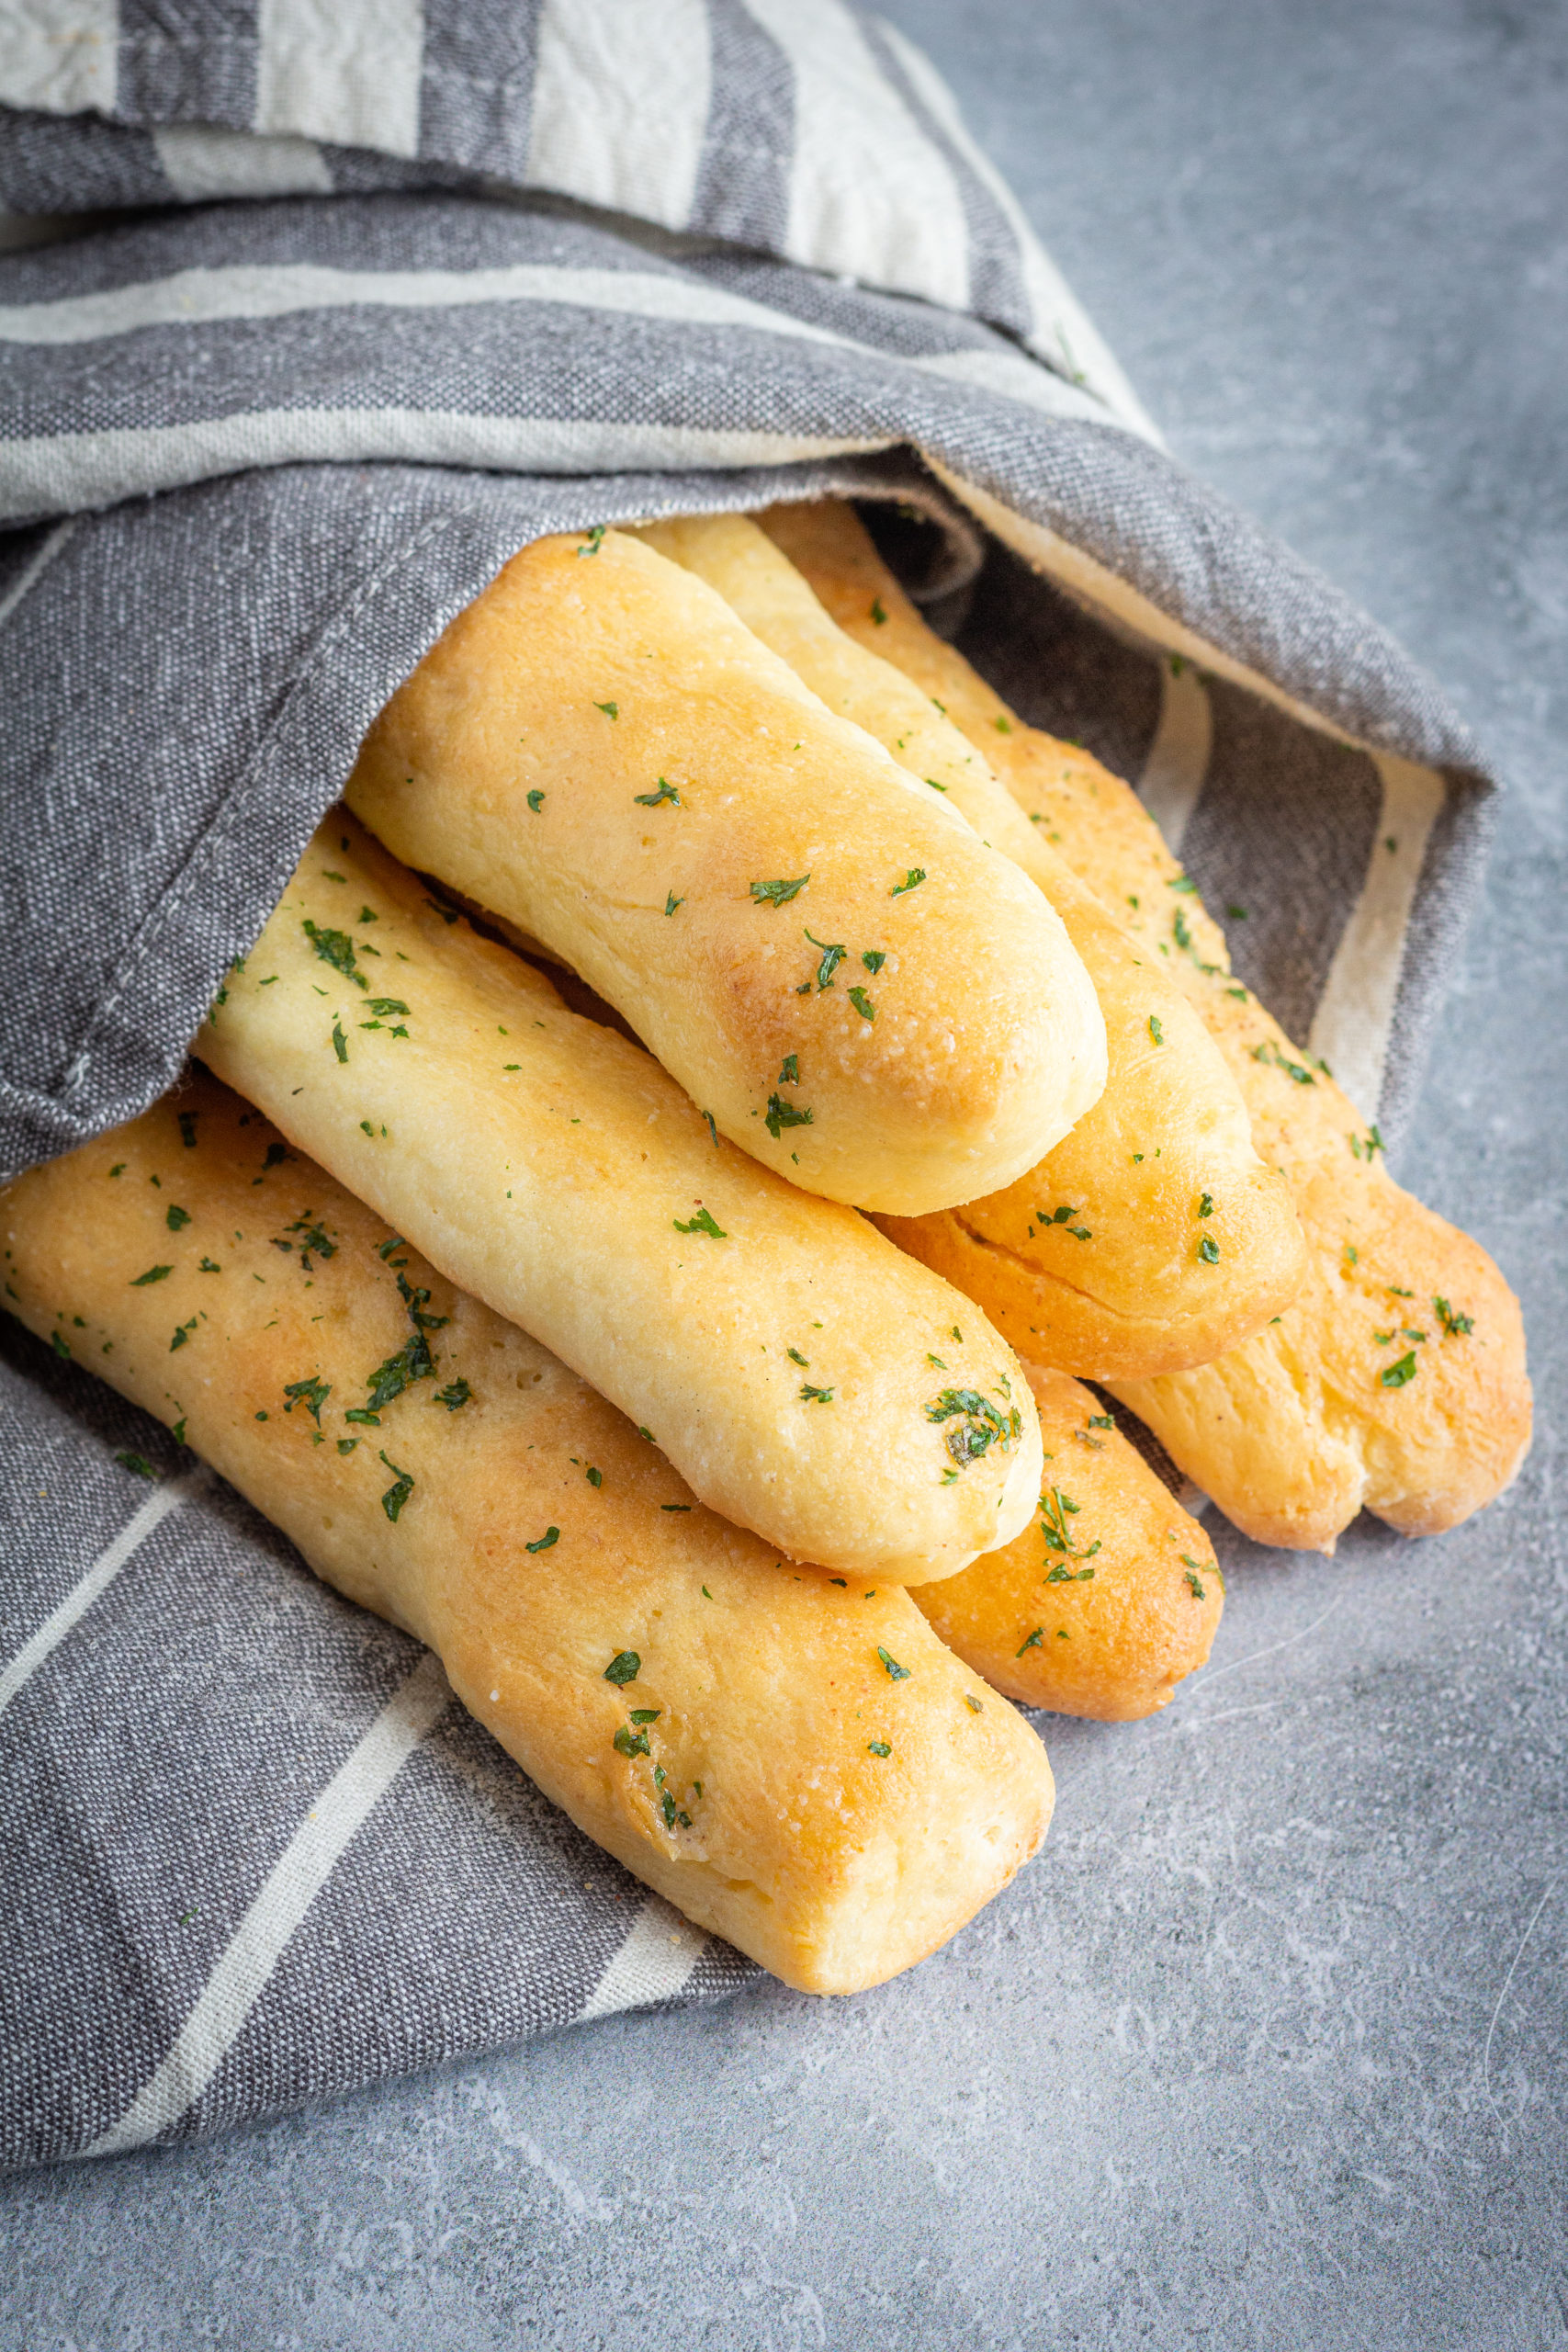
These soft and fluffy gluten free breadsticks are reminiscent of Olive Garden breadsticks. They're soft and flavorful and don't taste "gluten free" at all!
ABOUT THIS RECIPE
I feel like Olive Garden's soft breadsticks are one of those comfort foods that we just crave when we can't have them anymore. Like a cheap box of mac and cheese or super unhealthy white bread that is squishy.
These homemade gluten-free breadsticks taste just like them and I know you're gonna love them! They're soft and fluffy and perfectly flavored, and I think you'll be pleasantly surprised at how easy they are to make.
***I know you're anxious to start baking, but please read through at least the ingredients and pro tips sections before making this recipe.
I try to give you everything you need to make a beautiful recipe you'll want to make again and again and it is worth a few minutes of read time, I promise.
Feel free to use the table of contents below to jump around if you want, then you can print the recipe and get baking!
If you have any questions along the way, don't hesitate to reach out on social media or leave a comment and I'll get back to you soon.
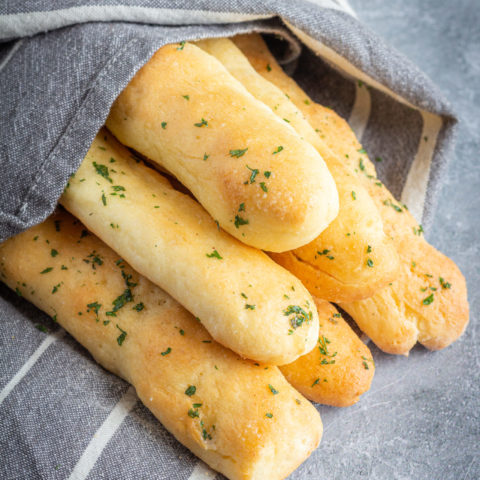
Look at how soft and squishy they are!
Table of contents
INGREDIENTS AND SUBSTITUTIONS
What Ingredients do I Need to Make Gluten Free Breadsticks?
*Get the amounts and full instructions in the recipe card below.
Dry ingredients:
- high quality gluten-free flour (I highly suggest using gfJules flour, more on that below)
- instant yeast (you can also use active dry yeast)
- instant milk (use coconut milk powder for dairy free)
- granulated sugar
- salt
- garlic salt (if you don't have garlic salt on hand, you can use 1 part garlic powder + 3 parts salt)
Wet ingredients:
- large eggs at room temperature (use Bob's Red Mill egg replacer for egg-free)
- extra virgin olive oil
- warm water
- salted butter, melted (use a dairy free alternative in stick form for dairy free. I recommend Melt brand)
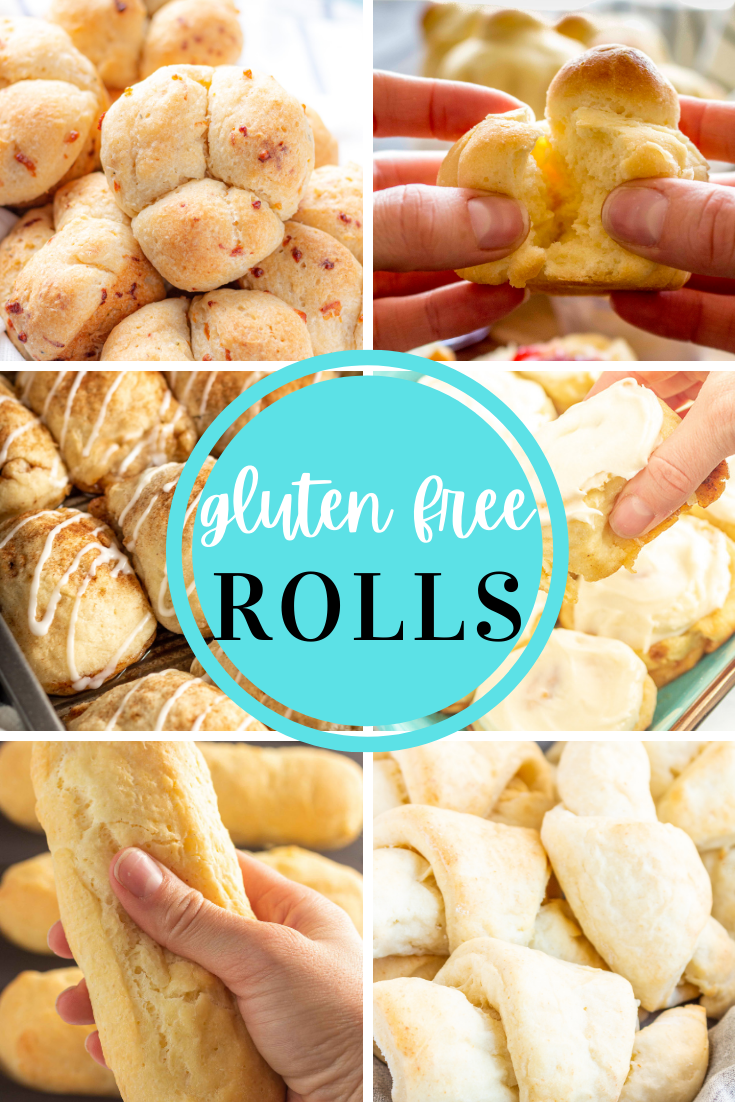
Looking for more gluten free bread recipes?? You're going to love my Gluten Free Sandwich Bread, Gluten Free Dinner Rolls, and magic, 4-ingredient Gluten Free Biscuits (dairy free options available for all of these recipes)
HOW TO MAKE GLUTEN FREE BREADSTICKS
This is such an easy recipe! Start with a high quality gluten-free flour that works well with this type of recipe and follow the simple instructions.
I use and recommend gfJules all-purpose flour for all yeast bread recipes. I've tested hundreds of recipes over the years with lots of different gluten free flours and gfJules makes the fluffiest breads and rolls that hold together well (read: not crumbly) and have a similar texture to wheat breads.
Step 1:
Line 2 large baking sheets with parchment paper and set aside.
Step 2:
This recipe is super easy, just measure all dough ingredients into the bowl of your stand mixer and fit with the paddle attachment. Mix it on medium speed for several minutes. It should look like a thick banana bread batter. Not runny, but definitely too sticky to handle with your hands.
Dough consistency can change based on humidity and elevation so you might need to adjust. If it seems too thick, feel free to add a few more tablespoons of water. If it seems too thin, add a tablespoon or two of flour.
PRO TIP: Gluten free yeast dough is very soft and sticky so you don't need to use a dough hook.
Step 3:
Turn dough out onto a floured surface (using gluten free flour, of course) and roll to coat, being careful not to incorporate extra flour into the dough. You're just coating the dough so it's not too sticky to work with.
Divide the breadstick dough into 10 equal pieces and roll each into a rope about 8 inches long and carefully transfer to the parchment-lined baking sheet. You'll have 5 breadsticks per pan.
Step 4:
Cover the pans loosely with plastic wrap that has been sprayed with cooking spray and allow to rise in a warm location for about 30 minutes, until breadsticks have puffed up to almost double in size.
I use the proof setting on my oven, but you can set it on the counter in front of a warm window, or on top of a warm oven if you don't have that option.
Step 5:
Preheat the oven to 400 degrees F.
While the oven is preheating, combine butter and garlic salt and gently brush over breadsticks.
Bake for about 15 minutes, until the breadsticks are golden brown and done inside.
PRO TIP: If you omitted the instant milk powder, they won't brown as much.
Use a pastry brush to top with with additional melted butter and sprinkle with garlic salt to taste.
WAIT! Don't lose this post! Save this image on Pinterest
WHICH GLUTEN FREE FLOUR IS BEST FOR BREADSTICKS?
Because gluten plays such a critical role in bread making, yeast recipes like breadsticks are particularly temperamental. Using a blend like Bob's Red Mill will absolutely not work in this recipe.
In fact, many of the gluten-free flour blends you normally buy clearly state on their packaging that they are not suited for breads.
I tested this gluten-free breadsticks recipe with gfJules so that's what I recommend. It really makes a huge differece and is a great all purpose flour blend to keep on hand.
If you choose to use another flour, I cannot guarantee the results.
HOW TO SERVE GLUTEN-FREE GARLIC BREADSTICKS
These homemade breadsticks are delicious on their own, but you can also serve them with soup or salads, casseroles, or with a side of marinara sauce.
For a fun twist, sprinkle finished gluten-free bread sticks with parmesan cheese and parsley flakes or a little Italian seasoning.
HOW TO MEASURE GLUTEN FREE FLOUR
It is crucial that you use the stir, scoop and level method when measuring gluten free flour. This ensures that you don't get too much or too little flour, which will drastically affect the final results. It is easiest if you pour your flour into a pantry bin or container.
Here's how to measure gluten free flour:
- Stir the flour with a spoon.
- Using a spoon, scoop the flour into your measuring cup so it is heaping above the rim. Be careful to not pack it down at all.
- Use a leveler or the flat edge of a knife to scrape the top of the measuring cup, which will level off the flour.
FREQUENTLY ASKED QUESTIONS
Can I make this recipe dairy free?
Can I make this recipe egg-free?
Can I use a homemade gluten-free flour blend in this recipe?
Do you have a vegan breadstick recipe?
Gluten Free Breadsticks Recipe
https://thereislifeafterwheat.comIngredients
- 4 cups flour
- 2 tablespoon yeast
- ⅔ cup instant milk
- ¼ cup sugar
- 2 eggs
- ⅔ cup olive oil
- 1 teaspoon salt
- 1 ⅓ cup warm water
- ¼ cup salted butter melted
- ½ teaspoon garlic salt I like Redmond Real Salt
Equipment
Method
- Line 2 large baking sheets with parchment. Set aside.
- Add all dough ingredients to the bowl of a stand mixer fitted with the paddle attachment (you can also use a hand mixer) in order listed.
- Mix on medium speed for 2-3 minutes. It should be the consistency of a thick and sticky batter, like a thick banana bread batter.
- Turn dough out onto a floured surface and roll to coat, being careful not to incorporate extra flour into the dough.
- Divide dough into 10 equal pieces and roll each into a rope about 8 inches long and carefully transfer to the prepared baking sheets.
- Cover loosely with plastic wrap that has been sprayed with cooking spray.
- Allow to rise in a warm location for about 30 minutes, until breadsticks have puffed up to almost double in size.
- Preheat the oven to 400 degrees F.
- While the oven is preheating, combine butter, and garlic salt and gently brush over breadsticks.
- Bake for about 15 minutes, until the breadsticks are golden brown and done inside.
- Brush with additional melted butter and sprinkle with garlic salt to taste.
Nutrition
Notes
- Bake long enough for the breadsticks to brown a little on the outside, this will give them the texture you remember from your favorite Italian restaurant!
- If you want, sprinkle a little parsley over the breadsticks just before serving.
- To make dairy free, use powdered coconut milk in place of the instant milk, or just omit. It will not brown quite as much without, so you'll need to watch it more closely.
- These are great served with a side of fresh or pre-made marinara sauce!
Laura says
These turned out well. Did not use the resalt as I didnt have it available....substituted salt and brushed top with melted butter, garlic powder, a sprinkle of oregano and parmesan cheese.
Thinking these would taste good if imited garlic flavour and rolled cooked rolls in melted butter and cinnamon sugar
Also, I use my own flour mix....
thereislifeafterwheat@gmail.com says
Thanks for letting me know Laura, I'm so glad you enjoyed them! I love the cinnamon sugar idea, definitely going to try that!
Chrystal @ Gluten-Free Palate says
You have really outdone yourself with this bread stick recipe!!! I can't wait to try those. And I have some Redmond products to use.. Whoop!!!
thereislifeafterwheat@gmail.com says
Wow thanks Chrystal! I'm excited for you to try them...FINALLY a soft gluten free breadstick, we've missed them!
Agnes says
Is there a chance to just use arrowroot powder or coconut or almond Flour? We can't really handle the pre mixed gluten free flours! So we are wheat and grainfree!
thereislifeafterwheat@gmail.com says
Hi Agnes! I haven't tried this recipe using only grain free flours so I'm not sure how it would affect the texture.
thereislifeafterwheat@gmail.com says
Agnes I've never tried it. I'm sure the texture would be different but I can't tell you exactly how it would turn out. I don't think coconut flour would work at all, but maybe a combo of arrowroot and almond? If you try it, let me know!
Raia says
I love Redmond's Real Salt. 🙂 And I can't believe how soft and squishly delicious those breadsticks look!
thereislifeafterwheat@gmail.com says
Thanks Raia, we could eat these for day! And RealSalt is definitely a favorite at our house!
Nichol says
Amen to the soft and squishy. My 8 year old said the tasted just like a pizza parlors! Win for mom!
amanda says
I can't wait to try the salt! and I love gfjules flour as well, those breadsticks look amazing!
thereislifeafterwheat@gmail.com says
You will love RealSalt Amanda! I'm excited for you to try them.
Leah @ Grain Changer says
SWOON! These look EXACTLY like the Olive Garden breadsticks that I used to loooooove (and eat about 10 of in a sitting haha). Can't wait to try these!!!
thereislifeafterwheat@gmail.com says
Leah, you're going to love them, we've been baking them several times a week!
Barbara says
These sure look good, Celeste. Thanks for including all the tips; gf baking is tricky.
thereislifeafterwheat@gmail.com says
True that Barbara, took me a few tries but it was definitely worth it!
Emily @ Recipes to Nourish says
These look amazing! I wish I had some to enjoy today. I'm going to have to make these soon.
thereislifeafterwheat@gmail.com says
Thanks so much Emily, they're so easy to make Emily, ready in an hour! Enjoy 🙂
keeley mcguire says
These look delicious! I miss a fluffy garlicy breadstick!
thereislifeafterwheat@gmail.com says
So did we, you will love these! RealSalt adds the perfect flavor, too.
Heidi @ Red Checkered Tabl says
These look so good. It's been too long since I've been able to have breadsticks. I'll definitely be saving this recipe to try. We love Real Salt. 🙂
thereislifeafterwheat@gmail.com says
Thanks so much Heidi, it had been a long time for us too! And yay for RealSalt, it's definitely a winner!
Michelle Palin says
Those look perfectly soft! I can't wait to try these!
thereislifeafterwheat@gmail.com says
Thanks Michelle, enjoy!
Susan says
I have two daughters that are celiac and husband is gluten intolerant. These turned out absolutely brilliant. They loved them and have requested them as a regular addition to our menus. Thank you so much for bringing joy to a very restrictive diet.
thereislifeafterwheat@gmail.com says
Thank you so much Susan! Hearing things like this make what I do worth it ?
silver says
Have you tried this recipe with the other blends besides GF Jules? I don't keep commercial blends on hand as I make my own mixes. I'd like to try these breadsticks following your flour blend recipe--but not if you haven't don't it yourself.
thereislifeafterwheat@gmail.com says
I use my mix in a similar recipe so it should work great! Just use 1 1/2 cups of my flour mix + 1/2 cup potato starch instead of the 2 cups flour. Happy baking!
silver says
Thanks! If I have time, I think I'll try these tonight.
thereislifeafterwheat@gmail.com says
Enjoy!
Dana says
I used Namaste flour, these were just as promised soft and fluffy!! OMG keep the recipes coming gluten free bloggers! You've kept hope alive for those who suffer from the tasteless wasteland of GF fails lol You are truly loved for your efforts!
thereislifeafterwheat@gmail.com says
Thank you so much for your kind words Dana, it's truly appreciated! I'm so glad you got to enjoy these breadsticks, it's one of my all-time favorite recipes. -Celeste
Melaney says
Cup4Cup GF flour comes with Xantham gum already in it, so I wouldn't need to add the additional Xantham gum, correct?
Also, I'm allergic to vinegar. Would another acid, like lemon juice work since it calls for so little? Or would I be better off just leaving it out?
thereislifeafterwheat@gmail.com says
Hi Melaney! You should be able to use lemon juice or omit the vinegar. And while I love Cup4Cup flour, I tested this recipe with it and the texture wasn't as good. I recommend gfJules or Better Batter, and do keep gfJules on hand at all times for all my yeast bread recipes. You can find it on Amazon and get 2 day shipping if you have Prime. If you're using Cup4Cup, I would half the xanthan but, again, I would recommend using another blend. Hope you enjoy it!
Nicole says
Decided to make these and kept my hopes low because gluten free baking is so unpredictable.
These are REALLY good! Super soft and fluffy! I plan on adding more seasoning to the dough itself next time and parmesan for sure
thereislifeafterwheat@gmail.com says
Yay! So glad you enjoyed them Nicole. Great ideas, thank you for sharing! -Celeste
Victoria says
I just made these and am already on my second one. So I am now going to make another batch. They are soft and wonderful tasting just like real bread. I did change a bit and used Bob Red Mill flour, homemade apple cider vinegar and corn oil. Mainly because that was what I had on had. I was able to roll out my dough for some reason. But I am not complaining!!
Excellent and easy recipe to follow. I thank you so very much for posting this recipe.
Victoria
thereislifeafterwheat@gmail.com says
Victoria, I love hearing this! I'm so glad you're enjoying the breadsticks, definitely one of my family's all-time favorite recipes 🙂 -Celeste
Joye says
I must've done something wrong! Followed the recipe exactly as you had it and the dough came out very crumbly (used your flour mixture recipe with xanthum gum). I added probably another 3/4 cup water to make the dough smooth like in your picture. Piped it out and let it rise 10 minutes and it looked GREAT!! Then baked for 21 minutes (they were still pale and flat after 12 minutes). They came out brown then deflated, then were absolutely gummy. HELP!! My daughter is new to gluten free and I've got to find a solution!! Thanks!
thereislifeafterwheat@gmail.com says
Hi Joye, that sounds frustrating! I make this recipe often and have not had that problem, It should be a wet dough. I would suggest trying it again and when you measure the flour, stir it first, scoop into the measuring cup, then level off with a knife. Also double check that you've added the full amount of water and olive oil. Let me know if you have any more questions, always happy to help! -Celeste
Heidi says
I too followed the recipe exactly, except that I doubled it. Mine turned into a ball of dough as soon as I started the mixer! It was definitely NOT what the recipe called for, so I rolled it out and sliced it into flat breadsticks. Let them "rise" about 15 minutes, though I couldn't really tell if they rose much, and then popped them in the oven for 15 minutes. They turned out, were cooked through, and had good flavor. But they were definitely flat and nothing like these. Not sure where I went wrong...
thereislifeafterwheat@gmail.com says
Hi Heidi! Sorry they didn't rise for you. Make sure you're using a flour blend I recommend like Better Batter or GF Jules, and stir, scoop, and level when measuring. It sounds like you had too much flour, a different flour blend, or not enough liquid.
Jennifer Buzel says
Has anyone tried this recipe with an egg substitute? I have intolerances to eggs, gluten, dairy, and shellfish. 🙁 Do you think a flax or chia "egg" would work since it has the xanthin gum in it already?
thereislifeafterwheat@gmail.com says
Hi Jennifer! Great question, I haven't tried it, but I think it would work. Let me know how it goes! -Celeste
Jenna says
Do you mean all purpose flour? Mine has zantham gum already and baking powder. Would I omit the BP as well? Thanks!
Jenna says
Nevermind. Mine had SODA. so I still used powder and they turned out great. So addictive I ate my the ones I had set aside for my grandpa!
thereislifeafterwheat@gmail.com says
Sounds like a good excuse to make a second batch! I'm so glad you enjoyed them Jenna! -Celeste
Jason Tennant says
I made these last night for my parents (who have Celiac disease) and they turned out great. I was very surprised and impressed. First time I have had gluten free bread turn out well. And it was so simple and quick to make, too.
The breadsticks are soft and have a nice crumb texture. I put the broiler on for two minutes at the end to give the tops some extra browning and they looked great. Also, I was able to shape the dough with slightly oiled hands, saving the zip-lock step. I even made a small bun.
The taste is pretty good. There was a slightly "off" taste. Sort of salty, or bitter. Might be from the flours and starches? My dad said it was great with some butter. Probably not as noticeable with a dipping sauce of some kind. He's happy, so I'm satisfied.
Thanks for a great recipe. It should help my parents a lot. Absolutely recommend this one to anyone needing a gluten-free solution to their breadstick cravings.
thereislifeafterwheat@gmail.com says
Hi Jason, thanks for the detailed review! The flour you use definitely affects the taste. The freshness of the flour you use as well as the brand/type will determine a lot of the taste and texture for your final product. The salt can also affect, which is why I like to use Redmond Real Salt 🙂 I'm so happy that everyone enjoyed it, thanks again. -Celeste
Jules Shepard says
Thanks for the shout out and these look GREAT!
thereislifeafterwheat@gmail.com says
We love your flour Jules! Thanks for the comment 🙂 -Celeste
Erin Smith says
Delicious! Finally a gluten free breadstick that tastes like Olive Garden breadsticks! My daughter and I have celiacs so we have been looking for good gf bread recipes. This one is fantastic! We used King Arthur gluten free all purpose flour and kosher salt.
thereislifeafterwheat@gmail.com says
I'm so glad you enjoyed them Erin, thank you for letting us know what you used to make them! -Celeste
CJ says
Are these breadsticks okay to freeze so that they can be baked ahead of time and saved until needed?
thereislifeafterwheat@gmail.com says
Hi CJ! As with all baked goods, these breadsticks are best eaten fresh. However, they warm up pretty well 🙂 You can bake, cool, and freeze, then reheat when ready to enjoy.
Margaret E Clegg says
These would be great for enjoying with a large party. May just have to put these out with pizza for our Super Bowl menu!
Laura says
These are so easy to make and they are delicious! I used Namaste flour and they turned out perfectly! I have also used this recipe as a pizza dough and it worked wonderfully!
thereislifeafterwheat@gmail.com says
Thanks for letting us know which flour you used, so glad you enjoyed it!
Emily says
I made these tonight and they turned out great! My family loved them. I was wondering so you have a recipe for gf pizza?
thereislifeafterwheat@gmail.com says
So glad you enjoyed the breadsticks Emily! I don't have an official pizza recipe, but I often use this breadsticks recipe as pizza dough - it works great!
Barb Barnes says
Oh my!!! I just made these. Never mind the vinegar......they won't last long enough anyway. I always use full fat Greek yogurt instead of the fat required in any gluten free bread recipe and this was no exception. How do I thank you enough for sharing this??? How wonderfully soft!!! I have one tip for everyone.....place the gallon baggie in a glass with the zipper side over the top edges of the glass, THEN fill the baggie with dough to pipe out. I also used a non stick flat spatula on the flat countertop to move the dough to the cut corner as I piped. THANK YOU AGAIN A MILLION TIMES!!!!
thereislifeafterwheat@gmail.com says
Great tips Barb, thank you for sharing! So glad you enjoyed the breadsticks 🙂
Shel says
The texture is absolutely amazing! I may try less yeast next time, the taste was a bit overpowering.
thereislifeafterwheat@gmail.com says
Glad you like it!
Sherriann says
I really loved the previous version and I didn’t print it, is it possible to please post the older version? I’m racking my brain trying to remember the ingredients!
thereislifeafterwheat@gmail.com says
This is almost identical, just a few tweaks to improve it a little! Sorry, I don't have the previous version anymore.
Randina says
I’ve been using this recipe for awhile and been absolutely loving it! It looks like you updated it though and I really loved making it as it was! Could you possibly respond to me with the original measurement of ingredients and cool time? I really liked mixing it up and piping them out of a ziploc bag. Thank you!
thereislifeafterwheat@gmail.com says
So sorry! The recipe was minimally improved, you can still fill a Ziploc to pipe. I'm so happy you've been liking it!
Jason says
Do you add 2/3 cup dry instant milk or wet instant milk? I don't bake very often, so this might be obvious to some.
thank you!
Jason
thereislifeafterwheat@gmail.com says
It is dry instant milk, the powdered kind.
Michelle says
I tried making these and they are beyond sticky. I’m not sure what I did wrong but there is no possible way to roll the dough into breadsticks when it is stuck to my fingers and the countertop:)
Celeste Noland says
Gluten free dough needs to be wet because it soaks up more moisture as it bakes. That's why I recommend coating the surface in flour or oil to prevent sticking. If it still seems too sticky to work with, you can try adding a couple tablespoons of gf flour to the dough.
Shelley says
Hmmmm…I followed the recipe to a “T” and they were so dry…the dough was cracking before I baked them and they broke in half when I took them off the pan after baking. I couldn’t pick one up to eat it without it crumbing. What did I do wrong?
Celeste Noland says
Happy to help you troubleshoot Shelley, what flour did you use?