
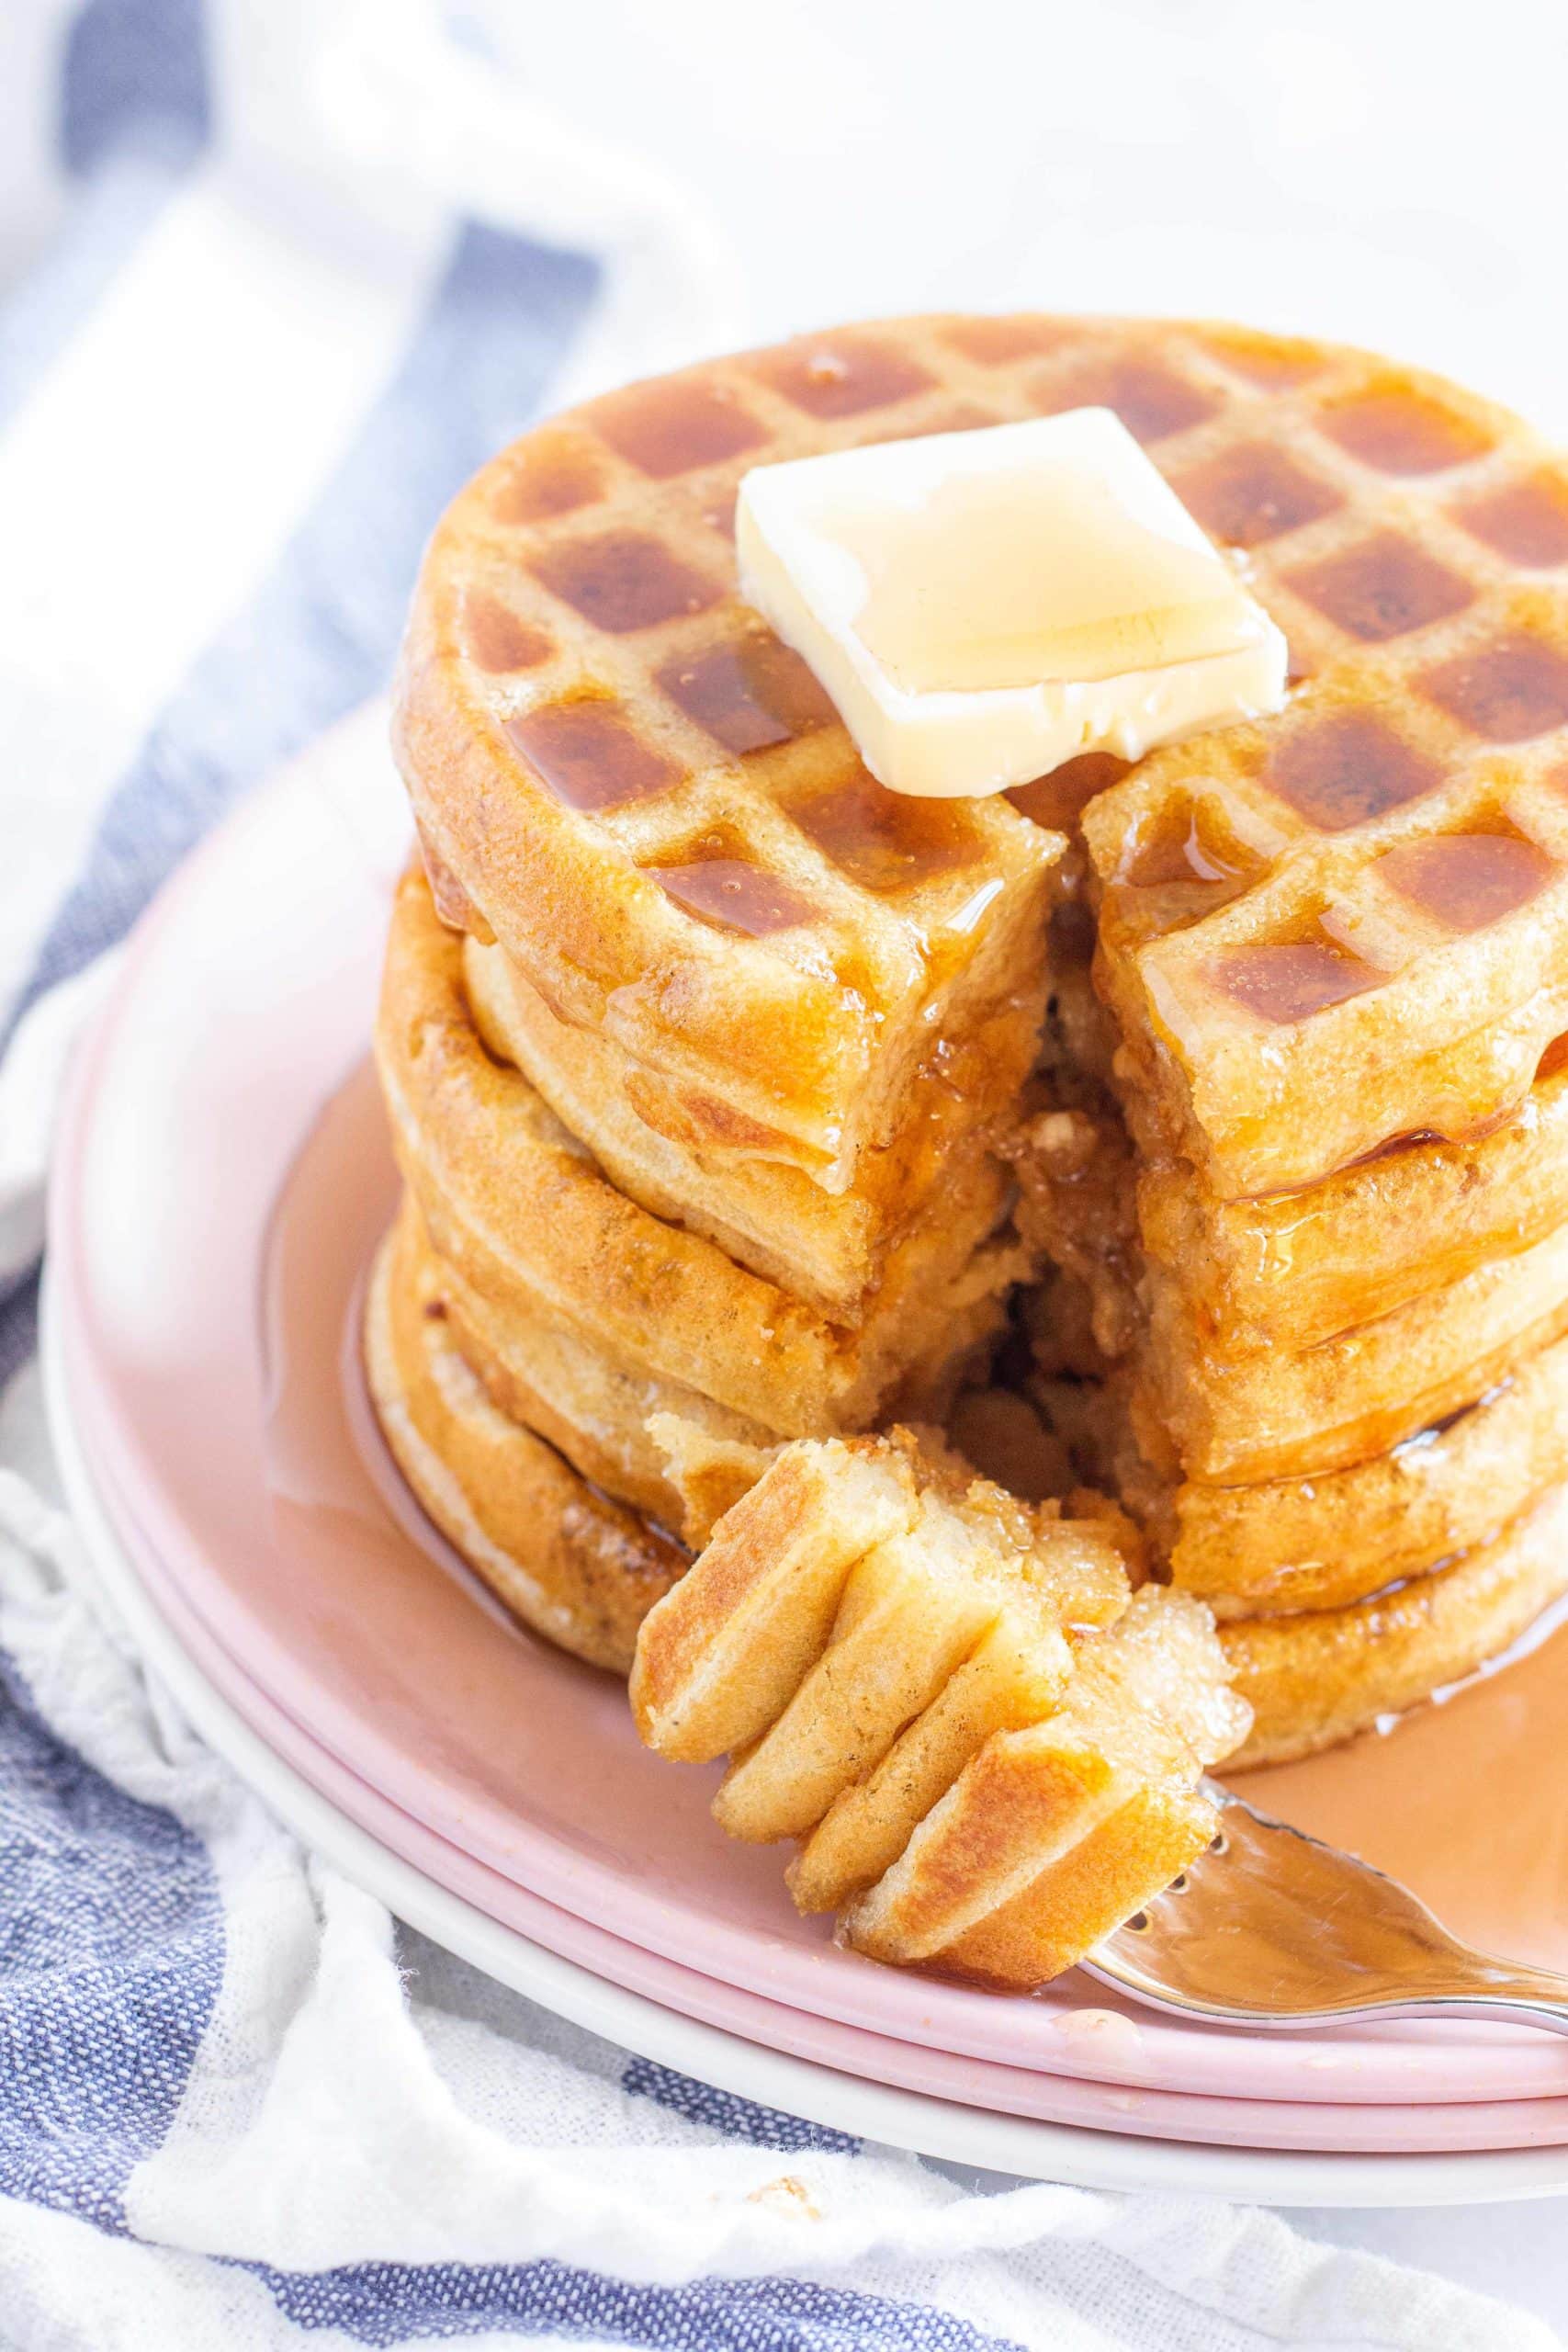
Ridiculously easy, crispy-on-the-edges and soft-and-fluffy in the middle, just as a gluten free waffle should be! These waffles freeze well, keep some on hand for quick breakfasts.
This post contains affiliate links. If you make a purchase through these links, I will receive a small commission at no extra cost to you. Thank you for supporting Life After Wheat so I can continue to bring you free recipes!
Waffles are definitely a favorite at our house, and having a gluten free waffles recipe that is crisp on the edges and soft and fluffy in the middle is a must for me!
Over the years, I've owned several different types of waffle makers, and I have to say that my fav is the Dash mini waffle iron.
The gluten free waffles come out the size of Eggo waffles, so perfect for freezing and popping in the toaster as needed to still get just the right texture.
The other thing I love about my Dash waffle iron is that it is so small and compact, we often pack it with us when going out of town so we can make safe waffles anywhere we go.
Be sure to check out my tips for freezing below!
But first, let me walk you through this recipe.
I'll share the ingredients and the step-by-step process for these gluten free waffles below, so be sure to check that out before you print the recipe!
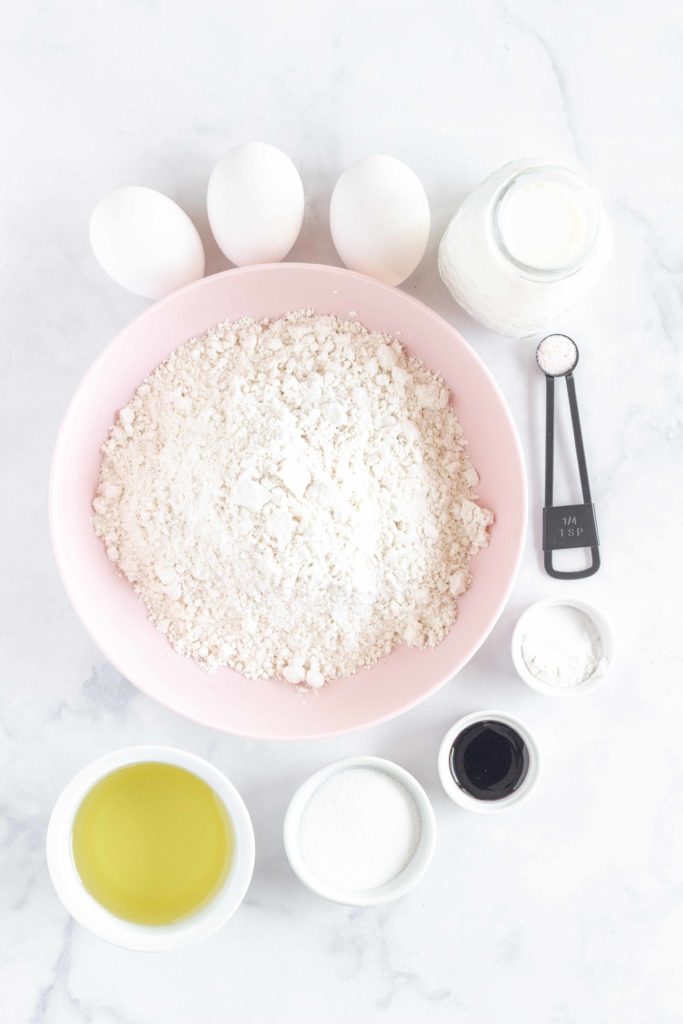
WHAT INGREDIENTS DO I NEED TO MAKE GLUTEN FREE WAFFLES?
I love that the ingredients in this recipe are so simple! You probably already have most, if not all, of them on hand.
Here's what you'll need:
- eggs
- neutral oil such as avocado, canola, or vegetable
- milk (dairy or non-dairy will work)
- vanilla
- sugar
- high quality gluten free flour (more on that below)
- baking powder
- baking soda
- salt
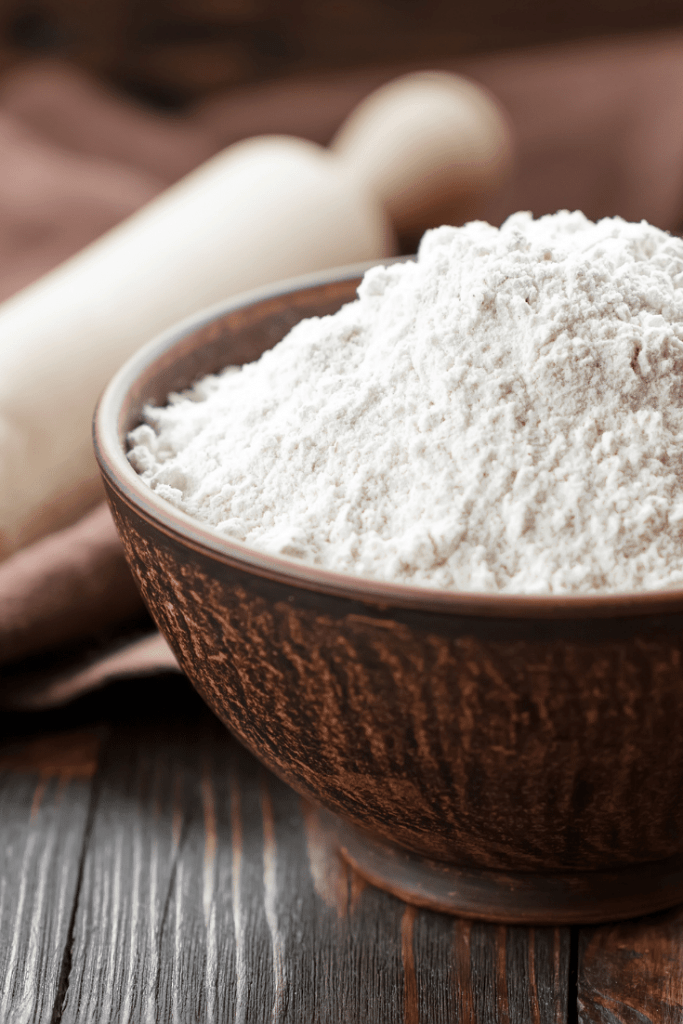
WHAT GLUTEN FREE FLOUR WORKS BEST IN THIS RECIPE?
I tested this recipe with a variety of gluten free flour blends, and recommend the following:
- Bob's Red Mill 1:1 is my favorite gluten free flour blend for pancakes and waffles.
- Better Batter (dairy free + corn free) also works well.
gfJules and Namaste have a little too much xanthan gum for this recipe. If you use either of those, you might get more of a gummy texture. I think Pamela's Artisan Blend would work as well, but haven't tested it yet, and Cup4Cup works OK but it will be a little gummy.
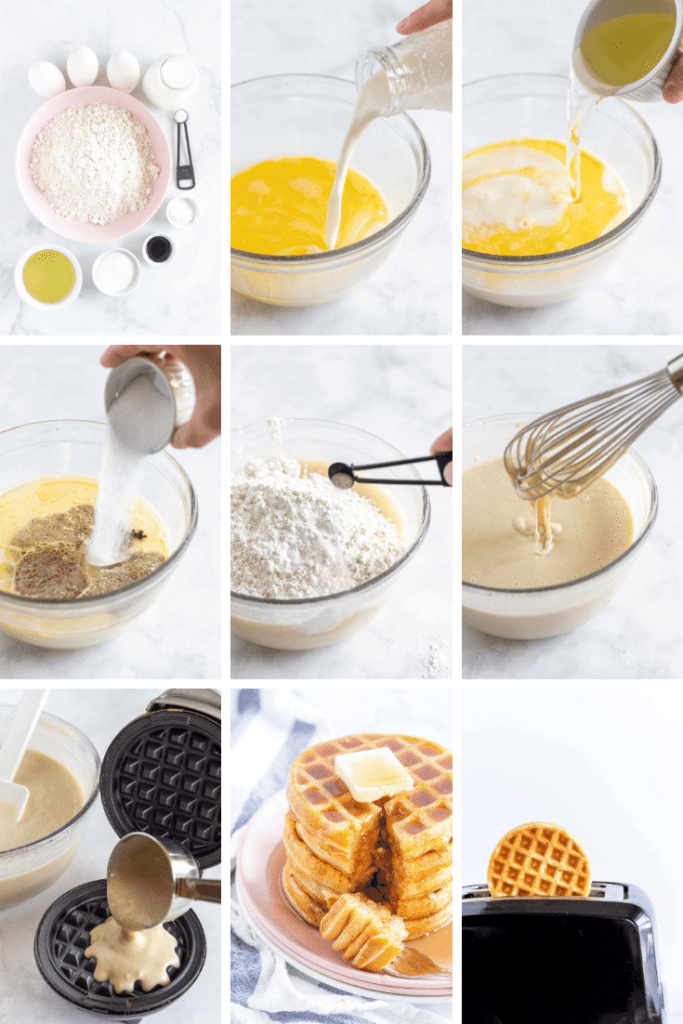
HOW TO MAKE GLUTEN FREE WAFFLES
There are a few things you need to remember when making gluten free waffles:
- When measuring gluten free flour, always stir the flour, scoop into a measuring cup, then level off.
- Flour matters. See above for my recs.
- Do not overmix waffle batter, they will end up tough if you do. It's OK if you have a few lumps.
- Depending on the type of milk you use, you might need to add a little milk or flour. Do so 1 T at a time and see pics below to see what the texture should be like. Also, waffles are pretty forgiving so they'll probably taste good anyway 😉
Here are the steps:
- Crack eggs into a medium/large bowl and whisk until smooth.
- Add milk, oil, sugar, and vanilla and whisk again.
- Add flour, baking powder, baking soda, and salt and whisk just until combined. It's OK if you have a few lumps.
- Preheat waffle iron(s) and cook according to manufacturer's directions. Both my Dash mini waffle maker and my Belgian waffle iron take about 2 minutes.
FREQUENTLY ASKED QUESTIONS
What types of gluten free flour will work in this recipe?
Bob's Red Mill 1:1 is my favorite gluten free flour blend for pancakes and waffles. Better Batter (dairy free + corn free) also works well and Cup4Cup can be used as well. I don't recommend gfJules or Namaste for this recipe.
Can I make gluten free waffles dairy free?
Yes! Simply use dairy free milk. You might want to reduce the amount by 1-2 Tablespoons as it is thinner than dairy milk.
Can I make the batter ahead of time and refrigerate for later?
Yes! The batter will thicken up a little in the fridge, but will cook well. Just refrigerate in a covered container or bowl and pull out 15 minutes before cooking.
Do gluten free waffles freeze well?
They sure do! Let the waffles cool completely on a rack, then place in a single layer on a baking sheet and freeze (you can layer with a piece of parchment between). Once frozen, you can place them all in a freezer bag. When you're ready to eat one, pop it in the toaster on the lowest setting.
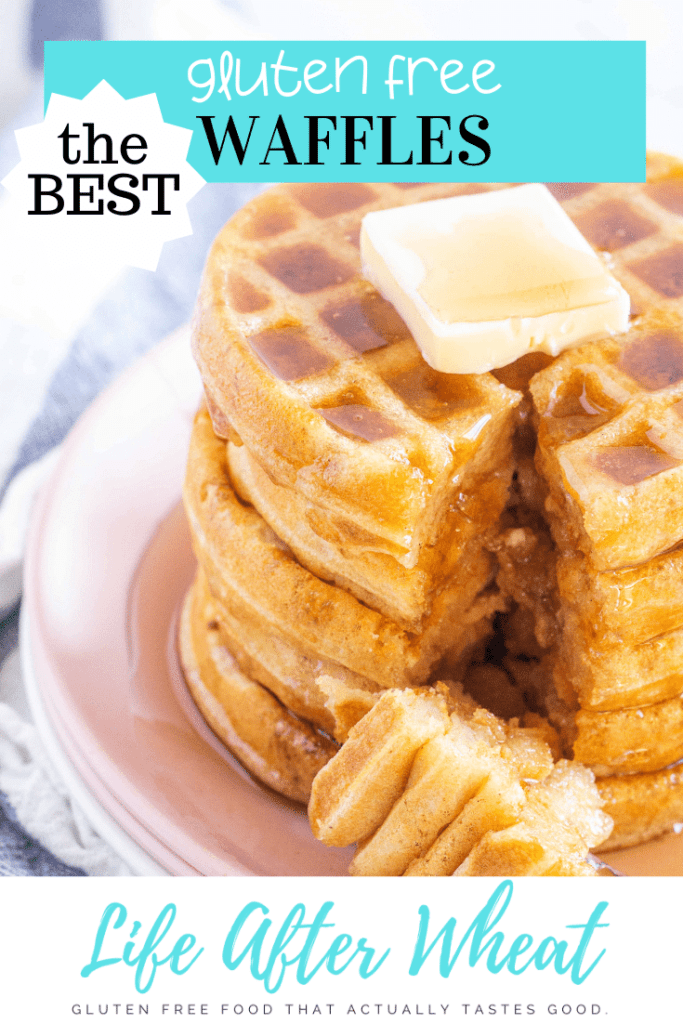
WAIT! Don't lose this post! Save this image on Pinterest
MAKING THIS RECIPE?
We would love to see what you create! Snap a photo and tag @LifeAfterWheat on social media!
Leaving a star rating on this recipe post or leaving a comment below helps more people find this recipe, thank you so much for your support!
OTHER RECIPES YOU MIGHT LIKE
Buttermilk Pancakes
Strawberry Shortcake
Buttermilk Syrup
Almond Poppyseed Muffins
Gluten Free Muffins 5 Ways
Biscuits and Gravy
Blueberry Biscuits
Cinnamon Rolls
Flaxseed Muffins
Crepes
Chocolate Crepes
Gluten Free Waffles (dairy free option)
Ingredients
Equipment
Method
- Crack eggs into a medium/large bowl and whisk until smooth.
- Add milk, oil, sugar, and vanilla and whisk again.
- Add flour, baking powder, baking soda, and salt and whisk just until combined. It's OK if you have a few lumps.
- Preheat waffle iron(s) and cook according to manufacturer's directions. Both my Dash mini waffle maker and my Belgian waffle iron take about 2 minutes.
- To freeze, cool completely on a cooling rack in a single layer. Move to a single layer on a cookie sheet, (for multiple layers, separate with parchment paper) and freeze. Once fully frozen, put them in an air-tight Ziploc bag and keep in freezer until ready to use. Pop in the toaster on lowest setting.
Nutrition
Notes
- When measuring gluten free flour, always stir the flour, scoop into a measuring cup, then level off.
- Flour matters. See above for my recs.
- Do not overmix waffle batter, they will end up tough if you do. It's OK if you have a few lumps.
- Depending on the type of milk you use, you might need to add a little milk or flour. Do so 1 T at a time and see pics below to see what the texture should be like. Also, waffles are pretty forgiving so they'll probably taste good anyway 😉
- For other questions, see the FAQ's above the recipe card.


Melissa says
Do you have an opinion on King Arthur Measure for Measure?
thereislifeafterwheat@gmail.com says
Honestly, I haven't used it enough to really say. I think it would work fine for waffles though! But I definitely need to test it more to know if it would work for cookies or yeast breads.