Yield: 2 Pie Crusts
Gluten Free Pie Crust
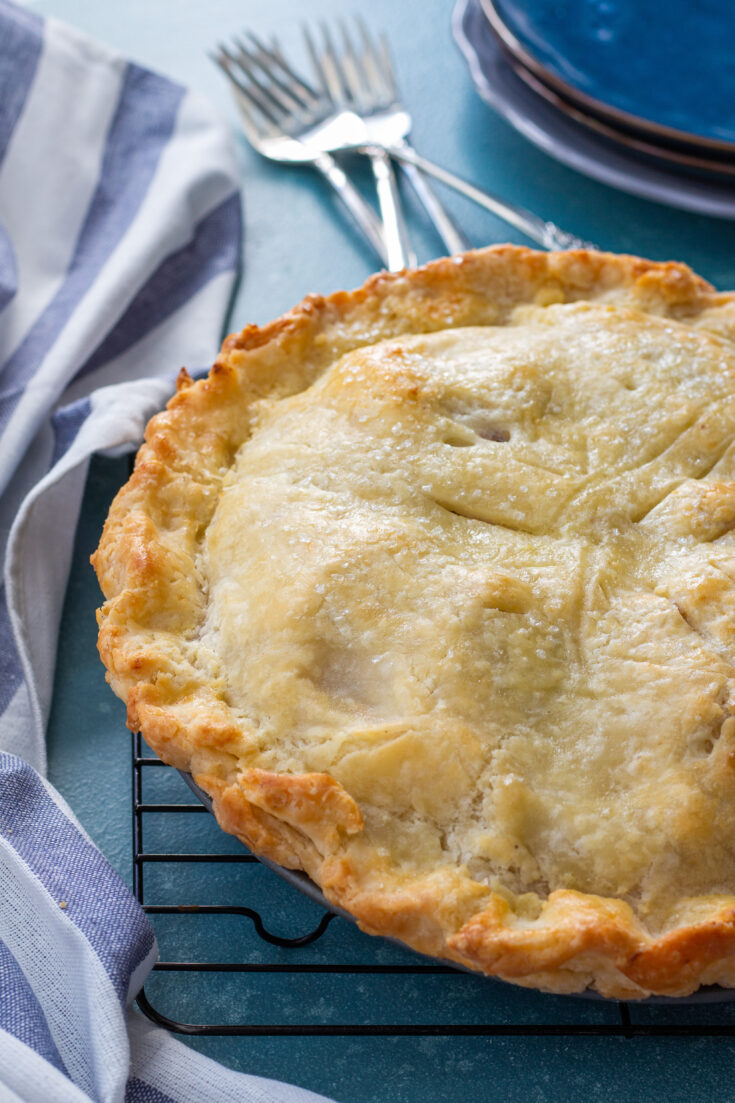
FINALLY, a gluten free pie crust that is Tender, Flaky, & doesn't fall apart! I'll walk you through this easy, fail-proof recipe for the perfect pie crust!
Prep Time
15 minutes
Cook Time
20 minutes
Additional Time
30 minutes
Total Time
1 hour 5 minutes
Ingredients
- 1/2 cup salted butter - cold & cut into 8 pieces
- 1/3 cup shortening (I used spectrum)
- 1/3 cup butter-flavored Crisco shortening
- 1 T sugar
- 1/2 teaspoon baking powder
- 1 teaspoon salt
- 1 Tablespoon dry milk
- 2 3/4 cup high quality gluten free flour - divided (see notes)
- 2/3 cup ice-cold water
- 1 Egg for egg wash (optional)
Instructions
- In bowl of stand mixer (see notes for other options), combine cold butter and shortenings. Mix on medium speed for 30 seconds. It should be fairly creamy with pieces of butter throughout.
- Add sugar, baking powder, salt, dry milk, and 1 1/2 cups flour (see notes for measuring tips!) and stir (I use stir speed on Kitchen Aid stand mixer) for 10 seconds.
- Add remaining 1 1/4 cups gluten free flour and 2/3 cup ice cold water (see notes) and mix just until combined. Don't expect the dough to be smooth and solid like cookie dough, it should be a little choppy because you don't want to over-mix it. See the step-by-step pictures in the post for reference. If the dough seems too dry, add a tablespoon of water.
- Lay out a sheet of plastic wrap and pat half the dough together into a ball, then wrap tightly in plastic wrap. Repeat with the other half and refrigerate the dough for 30-60 minutes.
- When ready to bake, preheat oven to 375 degrees F.
- Remove one disc of dough and roll it out into a circle larger than your pie plate (I use a 14" pie crust bag for this) You'll want to dust your surface with gluten free flour, but just a little - 1 tablespoon ought to do.
- Invert pie crust onto pie plate and poke with a fork 2-3 times.
- Whisk egg and brush onto pie crust. You won't need much of the egg, but brushing a little on will give your crust a beautiful, golden color and crispy edges.
- Bake single pie crust for 14-17 minutes.
- For double-crust pie, fill with desired filling, roll out second disc and invert onto top of pie. Seal and flute the edges, cut a few slits to release steam, then brush the top with egg wash. Sprinkle with sparkling sugar or regular white sugar, and bake according to recipe directions, usually 50-60 minutes.
Notes
- Flour matters. Gluten free flour blends are all different, so I suggest using a high-quality blend that you have had success with in other finicky recipes like cookies or rolls. I prefer Better Batter all-purpose gluten free flour when making this recipe, but Bob's Red Mill 1:1 (not the bean-based) works great as well!
- To measure flour: Stir the flour, scoop into measuring cup, and level off with the flat side of a knife. This will ensure you aren't adding too much flour to the recipe.
- Don't over-mix. You should have bits of butter in varying sizes throughout the dough. This is what creates pockets of air and makes the pie crust flaky.
- Use cold butter and refrigerate the dough. Starting with cold butter means the butter will melt while baking, creating that tender and flaky crust you're going for! You only need to refrigerate the dough for 30-60 minutes.
- Get a pie crust bag. This is one of my favorite kitchen tools! It makes it so easy to roll out pie crust without all the mess and hassle. I also use my pie crust bag for making gluten free crescent rolls.
- You can make pie crust ahead of time. To make pie crust ahead of time, prepare the dough as directed and wrap tightly in plastic wrap. Store in the fridge up to 2 days, and let sit at room temp for 10-20 minutes before rolling out so it will be easier to handle.
- If you don't have a stand mixer, you can use a large bowl and hand mixer. You can also use a wooden spoon (or other sturdy spoon) to cream the butter and the do the rest by hand.
- Use ice water. Add a handful of ice cubes to about a cup of water, let it sit for a few minutes so the water gets nice and cold, then measure your 2/3 cup from there.
Nutrition Information:
Yield:
8Serving Size:
1Amount Per Serving: Calories: 795Total Fat: 82gSaturated Fat: 51gTrans Fat: 3gUnsaturated Fat: 25gCholesterol: 260mgSodium: 691mgCarbohydrates: 14gFiber: 0gSugar: 2gProtein: 4g